Hi STAMPlorations Friends! Happy New Year to you. I'm kicking off my 2021 Spotlight projects with a couple of CAS cards featuring stencil printed and collage stamped backgrounds.
My first card uses the Sketched Hearts stencil which includes the cut out heart shapes and can be used as stencil and mask. Let me use it to take you through the steps on how my cards came together.
I inked up the largest heart shape (Aurore Izink ink), spritzed with water and printed on my base card. This gave me a nice watercolour look background to work with.
Once dry, I used the stencil and a small brush and edged my heart with Cire Izink ink.
Next I used the Blossom Sprays #3 stamp to add the floral detail. The stamp was only partially inked up (Miel Izink ink) when I stamped the first bit with the stamp on an acrylic block. I then decided which bit of the image I wanted to use to fill in the rest, carefully inked it up and stamped it using my fingers rather than an acrylic block for more detailed control.
My background was finished off with adding a bit of script (Mixed Media Elements).
My card was finished off with a die-cut sentiment (Everyday Sentiments dies) and sequin.
Next I wanted to see, if it was possible to create a similar background using Felxi-Templates. Here is how that experiment turned out.
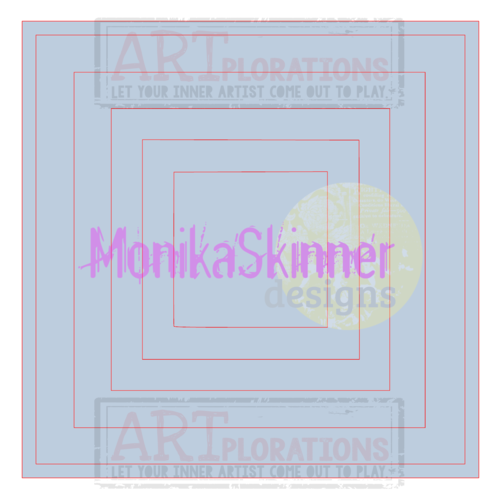
Having decided on the size of square I wanted to use, I secured the pieces together, inked them up (Aurore, Cire and Cerise Izink ink) and spritzed with water before printing.
Given that my shape was made up of stuck together frames the wet ink would distribute differently as compared to the smooth heart shape from my previous card.

Here is how it turned out. As you can see there is already quite a lot of texture in there.
Following the steps from my previous card, I blended around the edges (Aurore Izink ink).
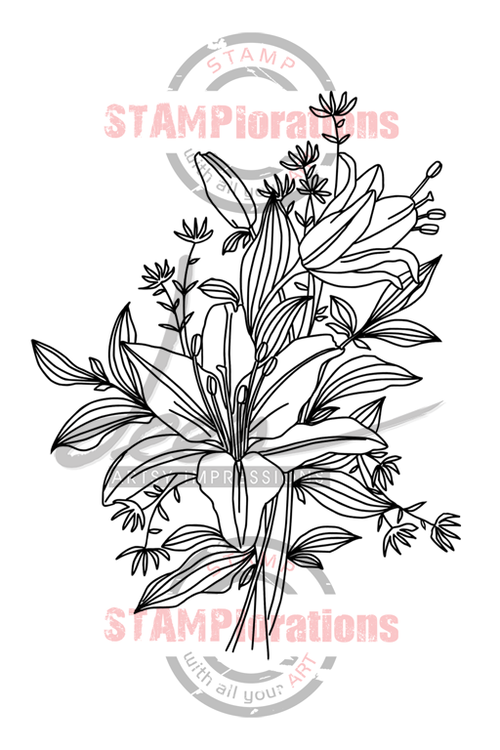
I finished off with stamped silhouette flowers (Beautiful You) in Cerise Izink ink and black Versafine ink), a bit of script (Daffodil Delight SU ink), sentiment, doodles and sequins.
TIP!: An out of centre focal point can look rather interesting on a square card and is easier to achieve when using the printing technique.
Here is a last look at both cards from today's tutorial.

These are the products I used from the STAMPlorations Shop to make my cards.


That's it from me for today. Wishing you a lovely week. Stay safe and healthy.
hugs
Monika ❤
Here is a last look at both cards from today's tutorial.


hugs
Monika ❤


These projects are fabulous...I'll nee to check out the products you've used to get such great results. tfs-stay well.
ReplyDeleteI love the colors you used! The heart is gorgeous!
ReplyDeleteFantastic ways to use these stencils and stamps!
ReplyDeleteYour cards are so lovely-amazing stenciling!
ReplyDeleteI really love the floral silhouettes!
Very pretty results. I will have to try this.
ReplyDeleteThese look so amazing!
ReplyDeleteFabulous cards and
ReplyDeletelove the backgrounds.
Carla from Utah
Fabulous colouring!!!
ReplyDeleteGreat cards!!!
Oh wow -- what gorgeous cards! I love your ideas for using stencils!
ReplyDeleteReally beautiful projects, and great use of stencils!
ReplyDeleteBeautiful way to use the stencils and make these gorgeous cards and backgrounds with the images!! Gorgeous!
ReplyDeleteBeautiful color combos and designs on these pretty cards!
ReplyDeleteOMG I didn't even know you could do this with stencils! I love both cards, but it was the first card that made me click 'Read more...' Thanks for the detailed post. A must try!
ReplyDeleteGreat stencil ideas. I like the flowers in the square border.
ReplyDeleteI just love how these beautiful card's turned out and love how you did the backgrounds
ReplyDeleteWhat a fun technique with beautiful results.
ReplyDeleteGorgeous cards and fun techniques. Love the heart. Hugz
ReplyDeleteWow awesome projects and great step by steps! I love that the cards are super fun yet still CAS!!
ReplyDelete