Hi STAMPlorations Friends! Today I have something different for you which can quite easily be adapted for cards or tags too of course. My loose tea jars needed labels, here they are:
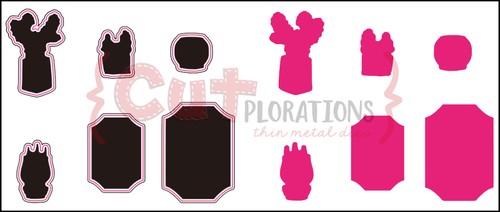
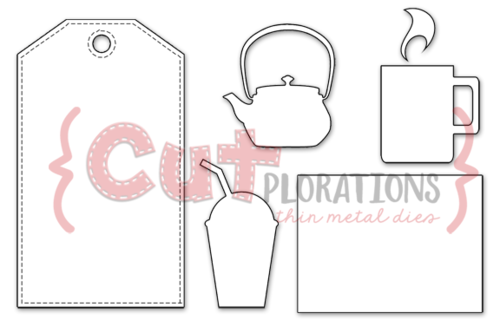
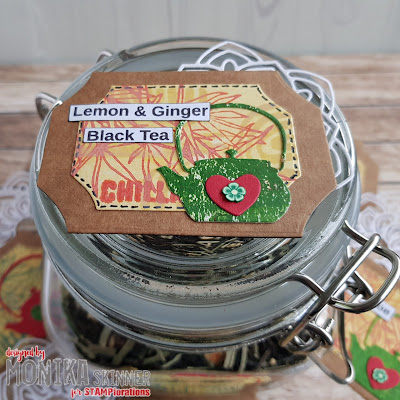
The sides of the jars were to shallow to fit a decently sized label and I decided to add them to the top. Not wanting to go with a round design I cut the label shapes from the Succulently Coordinating Dies and the tea pot from the Tag O'Coffee set to start.
The larger Kraft label was going to be my base, the white one was to become my patterned background and the tea pots were red for 'normal' tea and green for decaffeinated.
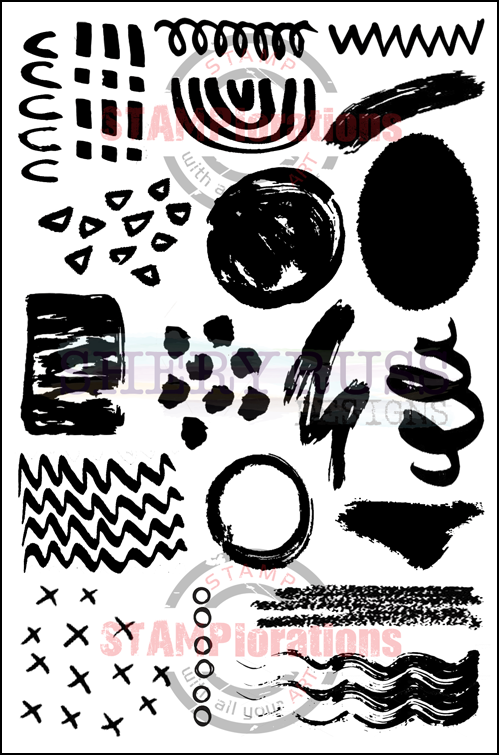
The smaller white labels were coloured with Scattered Straw DI before I added some background stamping using stamps from Art Marks 2 and Fossilized Amber DO.

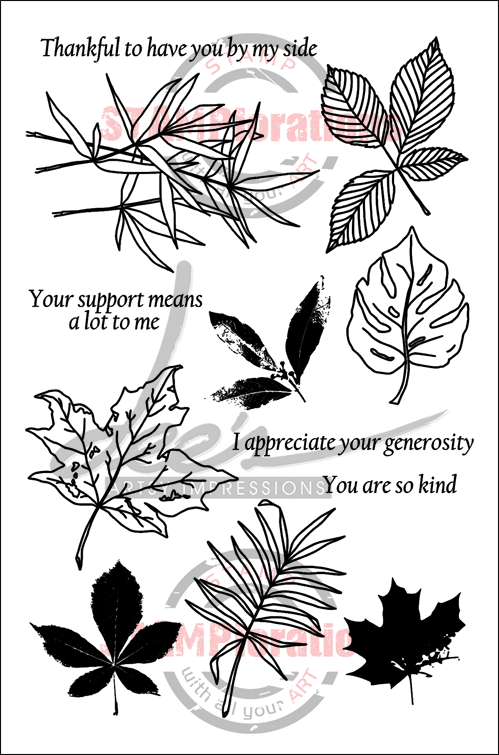
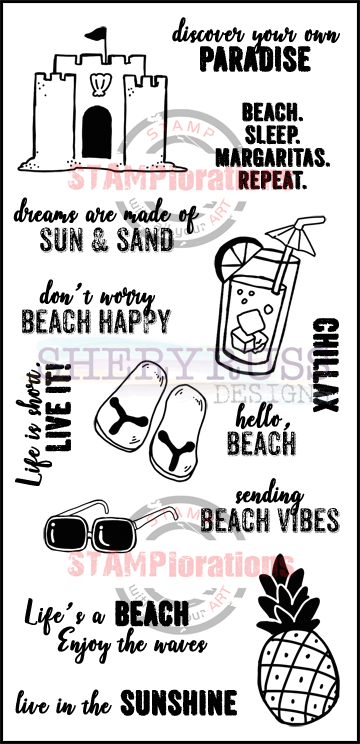
I then added some leaves from the Leafy set and the Chillax sentiment from Beach Vibes in Crackling Campfire and Rustic Wilderness before layering my labels.
Next I added some faux stitching, the tea pots and my computer printed tea labels. The tea pots looked like they could do with a little heart, so this was added too and finished off with a little flower.
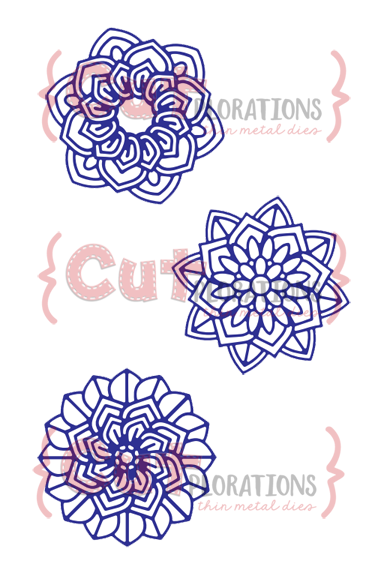
When it came to layering my labels on the jar lids, I felt that I wanted to add a little doily behind them. One of the Bloomdala Bliss Felicity dies worked rather well as a little extra touch.
Glue dots were used to attach my labels to the lids of my tea jars.
I call this a good way of stretching my stash. Of course as mentioned earlier, the labels could be adapted to become gift tags or card toppers.
These are the products I used from the STAMPlorations Shop to make my cards.

That's it from me for today. Wishing you a lovely week.
hugs
Monika ❤
The sides of the jars were to shallow to fit a decently sized label and I decided to add them to the top. Not wanting to go with a round design I cut the label shapes from the Succulently Coordinating Dies and the tea pot from the Tag O'Coffee set to start.
The larger Kraft label was going to be my base, the white one was to become my patterned background and the tea pots were red for 'normal' tea and green for decaffeinated.
The smaller white labels were coloured with Scattered Straw DI before I added some background stamping using stamps from Art Marks 2 and Fossilized Amber DO.

I then added some leaves from the Leafy set and the Chillax sentiment from Beach Vibes in Crackling Campfire and Rustic Wilderness before layering my labels.
Next I added some faux stitching, the tea pots and my computer printed tea labels. The tea pots looked like they could do with a little heart, so this was added too and finished off with a little flower.
When it came to layering my labels on the jar lids, I felt that I wanted to add a little doily behind them. One of the Bloomdala Bliss Felicity dies worked rather well as a little extra touch.
I call this a good way of stretching my stash. Of course as mentioned earlier, the labels could be adapted to become gift tags or card toppers.


That's it from me for today. Wishing you a lovely week.
hugs
Monika ❤



Oh, what a cute idea. They would be wonderful as part of a tea gift, too. You are so clever.
ReplyDeleteLove this idea!
ReplyDeleteThis is genius! Love the little teapots!!!
ReplyDeleteLove the Tag O'Coffee die set! The teapots are just adorable! Great project!
ReplyDeleteGreat idea for a gift too!
ReplyDeleteWOW - what delightful labels. They would be a joy to have in a kitchen
ReplyDeleteStay safe
Blessings
Maxine
These are wonderful! Love the little teapot. And the doily is the perfect accent.
ReplyDeleteGreat fun to make all of these fun and beautiful tea labels! Loved the doily die especially!
ReplyDeletesuch a cool project!
ReplyDeletesuch a cool project!
ReplyDeleteWhat sweet labels for your jars-I love the little tea pot!
ReplyDeleteGreat idea share for the tags.
ReplyDeleteWhat a great idea! Totally adorable!!!
ReplyDelete