


Here's Maureen with her projects:
Such a lovely time of year, especially in the desert Southwest where I live. It's the rainy season here and we've been getting good showers, causing the desert plants to bloom beautifully. I thought I'd bring that same feel to the projects I get to showcase this month. The CUTplorations products, along with the stamps, have amazing images and inspirational messages - so much fun to work with! I hope you enjoy them!
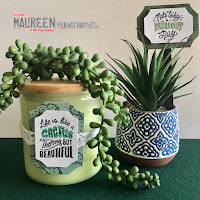
Project #1 - Cactus Planter Tags
Succulently Stamps
Succulently Dies

I absolutely LOVE quips and puns! The wittier they are, the more likely they will show up in my house. I couldn't resist making some witty signs using the Succulently Stamps and Dies. I have a few (not quite) real plants in my house, and decided to create a candle wrap with one and a planter tag with the other.

First, I taped off the words on the stamps I didn't want colored in with some general masking tape. Then, using a couple green shades of Tombow markers, I colored in the words 'fan-cactus' and 'cactus' on each stamp, removed the tape, then stamped the image on a piece of white card stock.
I like the watercolor look this gives the image. Next, I cleaned the stamp, taped off the cactus word in each saying, then inked up the remaining words with black stamping ink. Making sure to remove the tape again, I centered it over the first images.

With the smaller label die cut, I cut an image out of the phrase, and set it aside. I took 2 different shades of green card stock and used the cactus and succulent stamp as a background stamp, moving the stamp around the page as I went. These were done in 2 different shades of green ink. Once dry, I die cut them with the larger size label cut and then mounted the saying on top with some foam dots.

The candle wrap label had room to slide crocheted ribbon in between - I cut a piece wide enough for my jar and secured in the back. The sign was a wooden chalkboard plant marker that I bought at a dollar store, and I simply glued it to the front. Doesn't this project really "speak" to you?
*****
Project #2 - Accordion Tag Display
Succulently Stamps
Succulently Dies
Tag O' Coffee Dies
Trendy Spring Blooms Dies
Curvy Standard and Mini ARTplorations Stencil
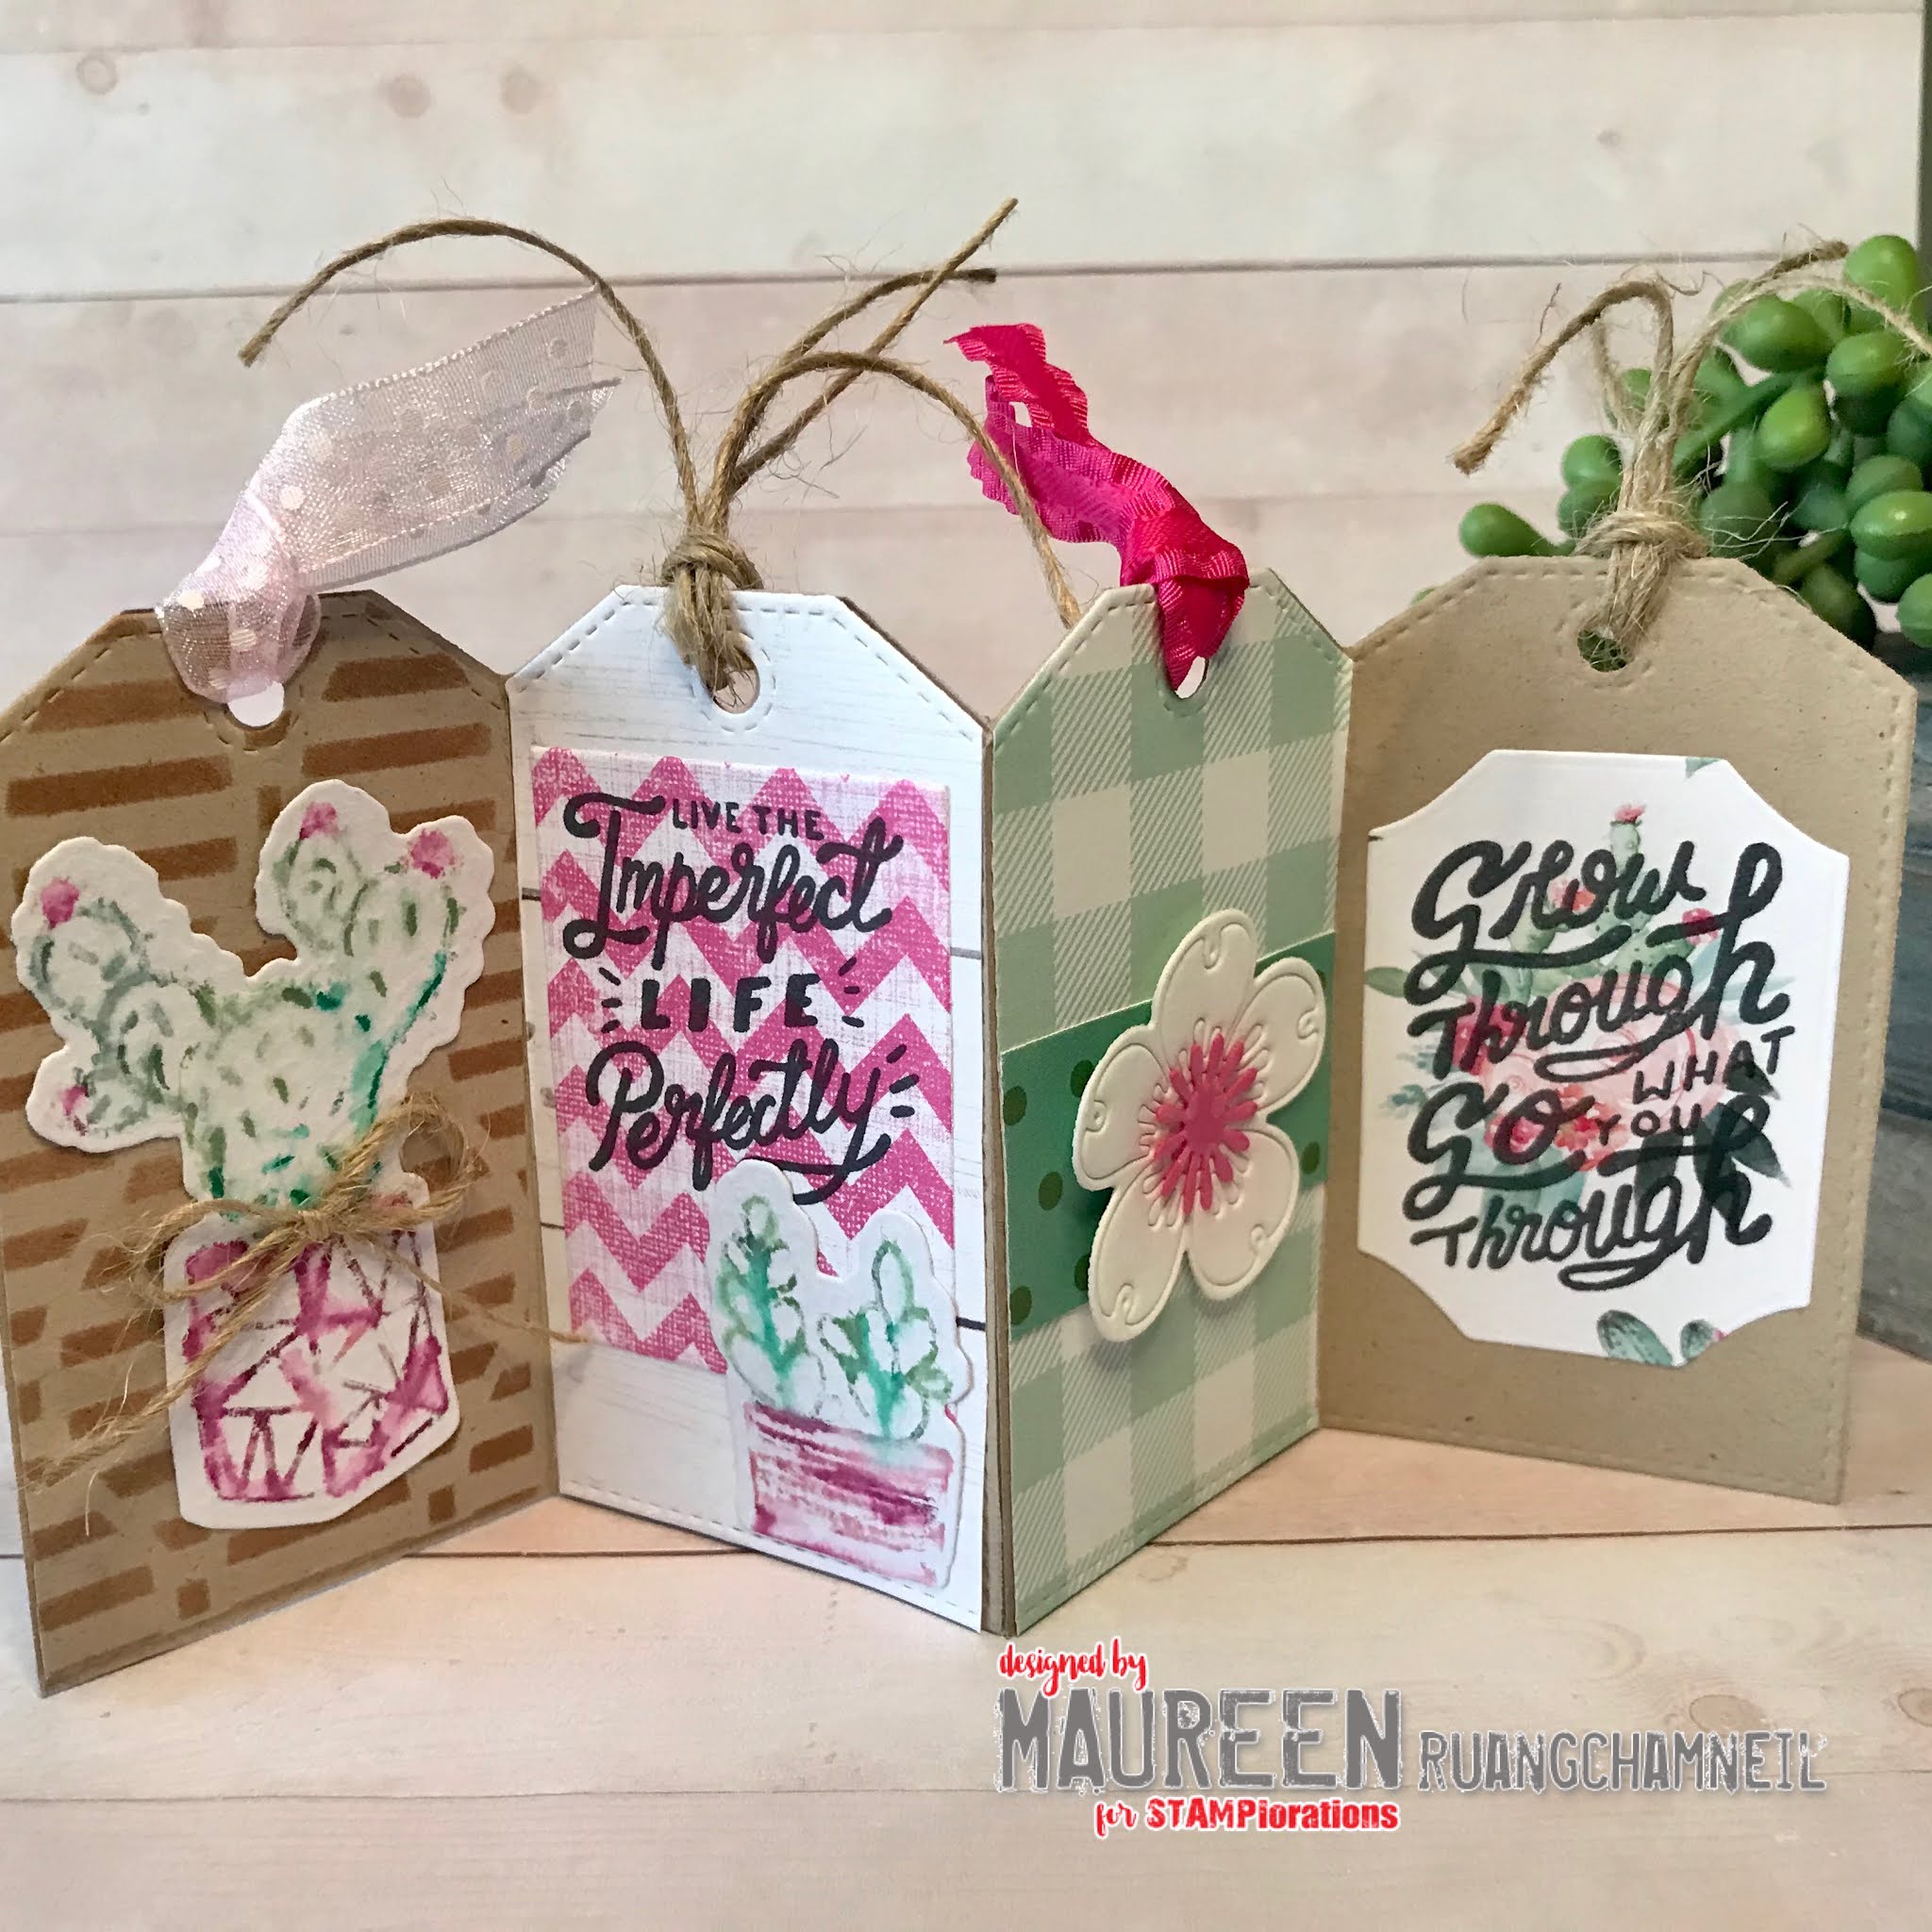
If I'm having a hard day at work, I often put favorite quotes on my desk to perk me up. This tag display is perfect to send to someone who needs some cheer - and it's MUCH prettier than a post-it note!

I started with the Tag O' Coffee tags, and put one edge just slightly over a fold in some brown kraft paper when I ran it through my machine. This allows the tag to fold like a card. I did this cut 3 times. Glue the tag shapes back to back so that all 3 sets fold back to back, like an accordion.

Next, I used some Distress Ink and a dauber to apply a pattern to the front inside tag and back of the project, using the Curvy Standard Mini ARTplorations Stencil. This gives the tags an earthy, basket look.
From here, I cut several more tags in various patterned paper, and glued them as background to other pages. At times, you may need to trim off an edge to make sure it fits properly. I cut additional trims of patterned paper as backgrounds, using my stash of scrap papers.

For panels 1 and 2, I used Tombow markers again on the Succulently Stamps, this time using a couple different greens and mauves. These were blended with water on a pallet, then applied with a brush to the stamp, and stamped on to paper made for watercolor.
I touched up edges here and there as needed by applying color with the markers themselves. From here, I cut the images out with the Succulently Dies and applied it to the tags - also using a message from the Succulently Stamps on this fold. The chevron cut is the middle panel from the Tag O'Coffee set.

For panels 3 and 4, I stamped a message on some patterned paper, then cut it out with the label cut from the Succulently Dies. The other page is a white and pink card stock flower from the Trendy Spring Blooms Dies set.

I chose my favorite saying for the front panel, stamped in black on patterned paper then adding more blooms and a fern cut from the Trendy Spring Blooms set. The final touch was a variety of ribbons in the tag holes and some gems. If I decide to give this to a friend, I would also tie up the accordion in a bow. I think that would look lovely as a gift!
*****
Project #3 - Butterfly Wire Candle Wrap
Fluttery Stamps
Fluttery Coordinating Dies

This SUPER easy project looks much harder than it is! It assembles quickly for last minute gifts. My supplies are the Fluttery Stamps and Coordinating Dies, along with rose gold floral wire, pearl beads with a center hole, card stock, marker and Stickles glitter.

I stamped and cut 6 butterflies from the Fluttery Stamps and Dies sets in a light yellow card stock. Taking a score board for a clean fold, I drew a score line right up the middle of the butterflies. Next I folded them in, and added Stickles glitter to 5 of the butterflies' wings, then let those dry.

With the 6th butterfly, I colored in the image to match my candle, and glued a pearl embellishment at the top. This butterfly was glued on to a yellow circle shape that fit the lid of my candle. Here I added a message cut in white from the Fluttery Coordinating Die set and glued that message to the circle, and again to the lid.

Next, I added 2 tiny punched holes, one on each inside of the 5 butterfly wings, then strung wire through both holes. After each butterfly, I strung a pearl in between, then wrapped extra wire 2 more times around the candle. A twist of the wire behind the jar and the entire wrap is complete.

I'd highly recommend watching the candle closely if you choose to burn it with this wrap attached. It would also go around a planter and it's such an awesome gift idea for a friend - I intend on making a few more colors this month for all the birthdays coming up!
Soooo creative once again!!! Thank you for inspiring!
ReplyDeleteThese are lovely, especially the butterfly candle idea!
ReplyDeleteOMG! These tags and the butterflies are soooo awesome!
ReplyDeleteI love all and a beautiful use of those products!
ReplyDeleteWhat great and original projects - the candle wrap in particular is stunning. Also loved the tag accordion
ReplyDeleteStay safe
Blessings
MAxine
Great projects. I especially like the tag project!
ReplyDeleteThe butterflies are a cute idea. I love to learn new things!!
ReplyDeleteSo many sweet projects..thanks for some wonderful ideas.
ReplyDeleteGreat projects, Love the tags!
ReplyDeleteGreat projects! I love the accordion tag card!
ReplyDeleteLovely ideas for decor projects, thanks for sharing!
ReplyDeleteSo many fun ideas!! I really love the tag card full of lovely quotes.
ReplyDeleteThe accordion tags are awesome, I might have to try that technique.
ReplyDeleteWhat fun and creative designs for home decor. Love the tag too.
ReplyDeleteGorgeous ideas. Love the tag display. So pretty. Hugz
ReplyDelete