
Happy New Year, Crafters! Yes it's already January... Doesn't time fly when you are having fun! I hope you enjoyed my Mixed Media tutorials as much as I did but, sadly, today is the last one, at least for this year.
Today's technique is probably one of the simplest one and yet I have the feeling it is often forgotten...or maybe it's just me!
To add another dimension to the stencilling, use your die-cutting machine to dry emboss, and voila another way to make the design pop off the page!
Supplies:
Die-cutting machine and embossing mat
Coloring medium
Apologies for being obvious here, but this might help newbies understand the process.
First tape your stencil to the card:
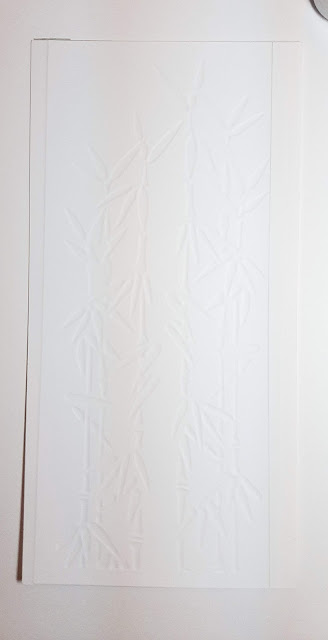
Then turn over card and stencil and place your embossing (rubber) mat on top. The sandwich will be different for each machine, so if in doubt, start with your embossing folder sandwich and progressively add card or paper shims to get the desired embossing depth.
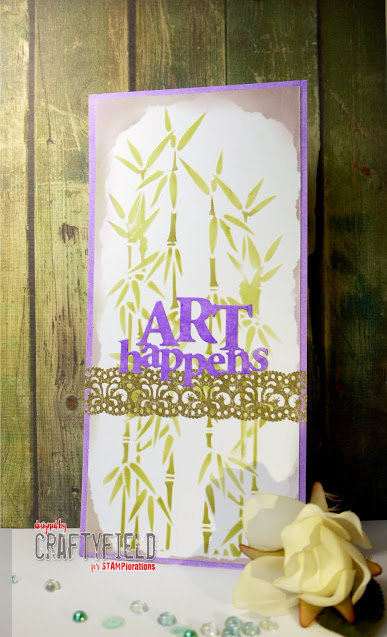
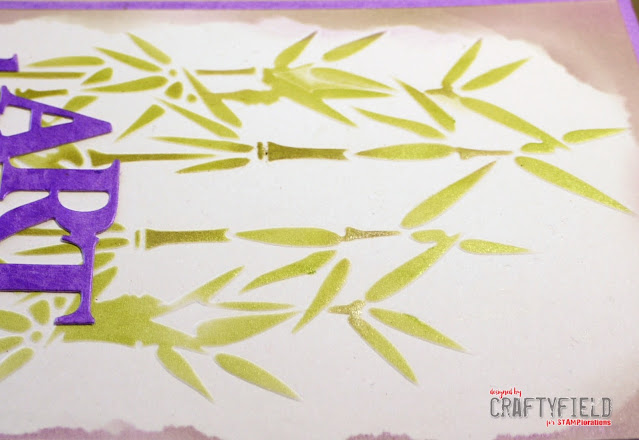
and add color.... I decided to use Distress Crayons as I wanted to take my new pack for a test run:
If you wondered how to use the crayons with stencils... I found out that applying the crayons to a sponge (the egg shape firm foam type), as if coloring the sponge, and then using the sponge on the stencil works very well, although it does take time.
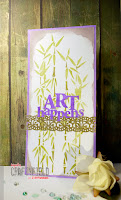
I cut down my panel, matted it, added a die-cut and a piece of paper lace, also colored with the crayon.
*************
For this second card I tried coloring first then embossing, and found it didn't make a difference.
Supplies:
Die-cutting machine and embossing mat
Coloring medium
Tape the All Blooms stencil to the piece of card:
Apply Distress Inks in various colours
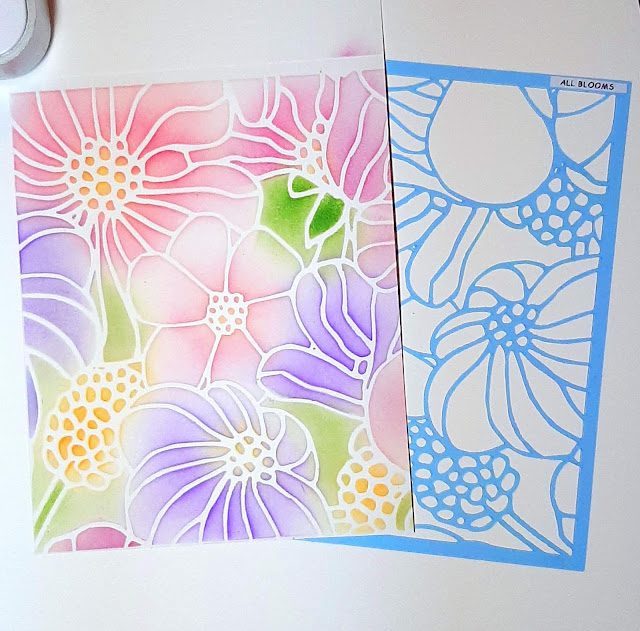
After stencilling :
And after embossing with the die-cutting machine:
The photo doesn't show the embossing depth but in real life, it does give a subtle but definite effect.
However the embossing shows off much better on the first card, partly I think, because of the mica content of these Distress Crayons, but mainly because of the thickness of the stencil used (STAMPlorations blue stencils are thinner at 7mil against 10mil for the white stencils).
It follows that the best stencils for this technique are the thicker ones, but no particular design is better.
************
I am looking forward to reading your feedback about this post, as well as the whole series, and hope you will try out these techniques and up your stencil game!






Your stenciling is STUNNING!!!
ReplyDeleteGreat show of the process. I haven't tried this technique yet, so it was good to see the steps listed out.
ReplyDeleteI've never thought of using my Distress Crayons on my stencils. I have both of these stencils, and LOVE them. Great job.
ReplyDeleteNeat technique to enhance the texture on a card.
ReplyDeletePretty effect with the embossing!
ReplyDeleteThat is something I have often read about and never tried - thanks for the tutorial and the reminder, and the beautiful results you obtained
ReplyDeleteStay safe
Blessings
Maxine
Thanks for showing your process. I've been cardmaking for decades but have never tried this technique!
ReplyDelete<3 J
jwoolbright at gmail dot com
HerPeacefulGarden.blogspot.com
Great use of stencils! Two Gorgeous cards! The coloring of the birthday card is outstanding!
ReplyDeleteWhat a cool way to
ReplyDeleteuse the stencils.
They look lovely.
Carla from Arizona
Great technique! And very pretty cards.
ReplyDeleteLovely to revisit techniques and your cards are so pretty. Hugz
ReplyDeleteLove to see ways to use stencils. Pretty cards!
ReplyDeletethis is such a great technique, I am always afraid to break the stencils!
ReplyDelete