Showing posts with label Nonni Niskanen. Show all posts

Wednesday, July 11, 2018

{Special Post} Wonderful Wednesday Coloring by Guest Designers Gloria, Lee Ann, and Nonni + Comment to Win!

Hey STAMPlorations friends! How's your summer going? The STAMPgirls doing our challenges are on vacation but inspiration continues here on the blog. Every second and fourth Wednesday starting this month until September, you'll be in for some serious treat! 

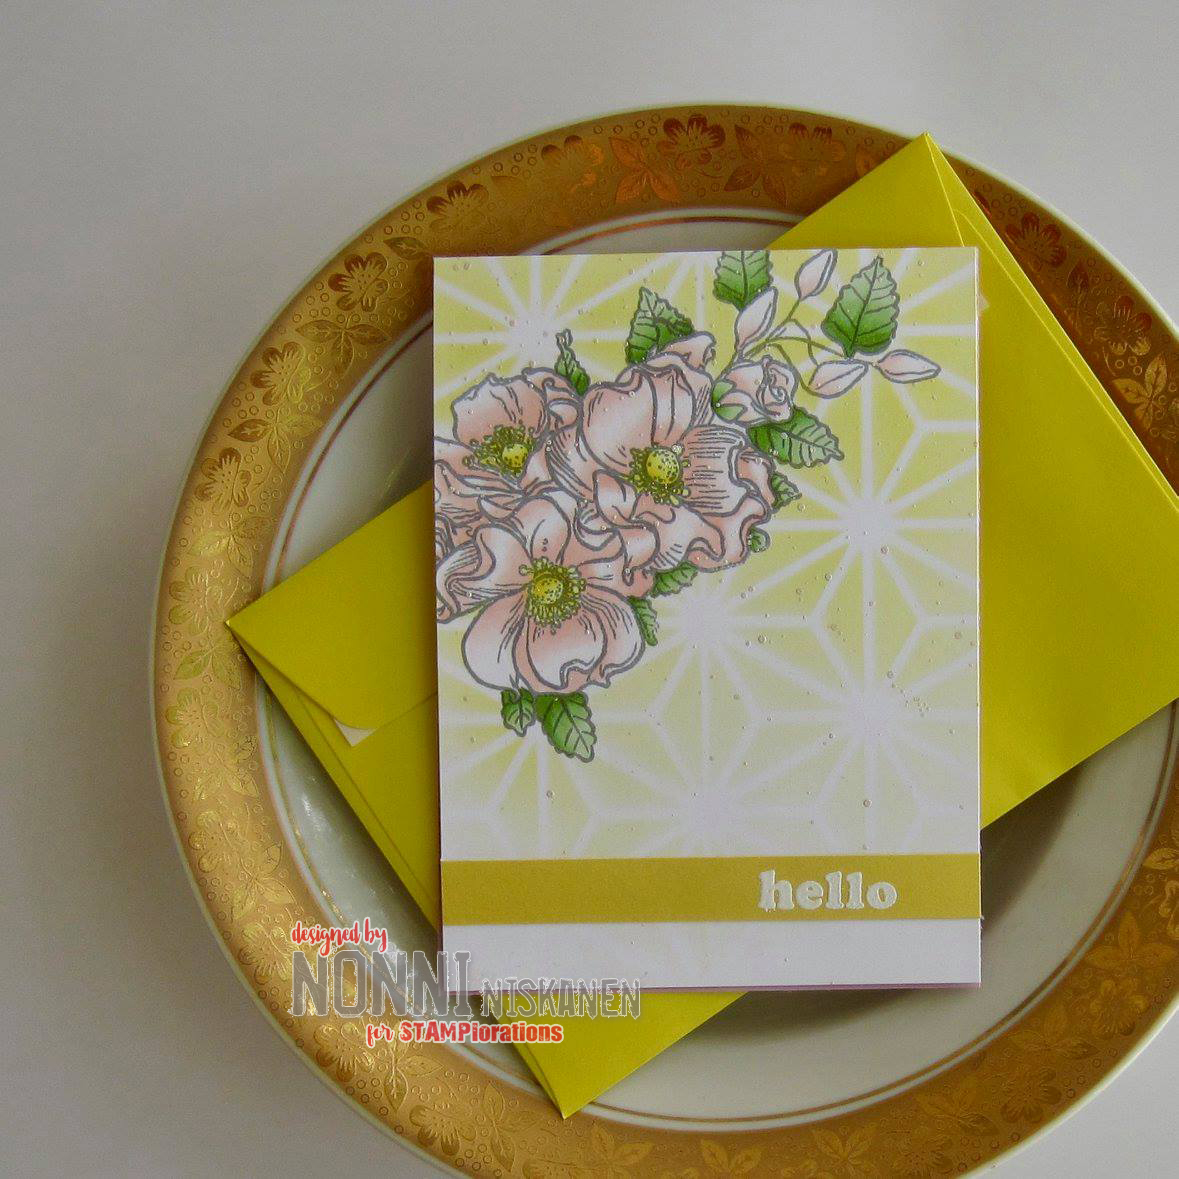
We have super talented guest designers -- Gloria, Lee Ann, and Nonni - showcasing STAMPlorations stamps with their incredible coloring skills. Their fabulous creations are guaranteed to inspire and get you in the mood to color! 

Comment here and on our guest designers' personal blogs for a chance to win a $15 gift certificate to the STAMPlorations store. We'll announce the winner in the July Winners post on August 10.


Monday, December 22, 2014

Christmas Inspiration Roundup

Hey there, creative stampers! Christmas is only 3 days away, but if you're still trying to get a few more Christmas cards done, we've got inspiration projects for you from the STAMPlorations girls!


Wednesday, December 10, 2014

{Spotlight Project} Nonni Creates A Sweet Print Dress Card!

{Looking for the Holiday Coffee Lovers Blog Hop post? Click here! There are prizes!}


Hi guys! It's Nonni here having inky, girly fun :)

Before going to the details of my card, I want to thank everyone for leaving such encouraging comments on my Spotlight Project posts. I've truly enjoyed reading them all. This will be my last Spotlight Project for now but that doesn't mean I'm leaving STAMPlorations. I'm just concentrating on my DT cards for challenges from now on. A big thank you to you all and I hope to see you all playing along in the challenges with me! 


I used these STAMPlorations sets to make this card: Typografia: EncouragementDistressed Floral Swirls, and Trendy Butterflies.

Wednesday, November 26, 2014

{Spotlight Project} Nonni Plays with Classy, Rustic, and Shiny Elements in a Fun Coffee-Themed Card!


Hi all STAMPlorations fans! It's Nonni here playing with one of the new sets we just released last week: VIGNETTE: Eat Drink Be Merry. One day when I was brewing coffee, I realized the piece of cardboard in the package of my coffee filters would be a fun template for a coffee-themed card and that's how this project saw daylight. Have a look at my card...Then let's see what we'll need!


Wednesday, October 29, 2014

{Spotlight Project} Nonni Has Fun with the Sleigh Stamp


Hi, guys! It's Nonni here creating with the Joyful set! I had a blast making this easy to mail one layer - and it's fast to make too! Let's have a look at the supplies you need to recreate this look:

Wednesday, October 15, 2014

{Spotlight Project} Nonni Makes Cards with the Christmas Stocking Stamp


Hi all friends of STAMPlorations! It's Nonni here playing with a Christmas stocking stamp from October stamp club set, Joyful! In my other card, I've also included a sentiment from the Holiday Sketches: Christmas Flower set.


Shall we take a closer look at the cards?

Wednesday, September 24, 2014

{Spotlight Project} Nonni Plays With Stamps And Patterned Paper


Hi guys! It's Nonni here playing with Bloom Sketches and some patterned paper! This is a fun technique for altering patterned paper by using your favorite stamps.

For creating this look you'll need:
  • STAMPlorations Bloom Sketches stamp set
  • Card for card base and matting your stamped panel
  • Patterned paper: mine has a fun script-look!
  • Watermark ink pad (I used Versamark)
  • Clear embossing powder
  • Embossing Buddy for removing static before embossing
  • Heat tool
  • Black ink (I used Versafine)
  • Sponging tool/Sponge
  • Clean cloth/Tissue

Wednesday, September 10, 2014

{Spotlight Project} Nonni Stamps with Gelatos and Ink Spray

Don't forget to join in on our stamp release blog hop fun
after reading Nonni's awesome project!


Hi, STAMPlorations friends! I'm showing you a quick, fun, messy card I made using the fabulous Bloom Sketches. The idea came to me by accident: I wanted to try watercolor style stamping by spraying my stamp with water and realized I don't own a misting bottle... So off I went trying if stamping with colored mists would work. It did!

Tuesday, August 26, 2014

{Spotlight Project} Nonni Makes a Poppies Tag...and Shares a Philosophy for Quick Coloring!


Hello, STAMPlorations friends! It's Nonni here with a Spotlight Project made with the new Bloom Sketches set.


My project is inspired by Marion Vagg's tag at Tag You're It Challenge. As you can see, Marion's cool tag is done completely with die cuts:


I don't own a die cutting machine so I decided to challenge myself to create a similar look with stamps only. Let's see how I made it!

First, I stamped the poppies from Bloom Sketches. I used Copic markers for coloring in so my poppies are stamped with Memento on a blending cardstock. I also stamped the poppies to a piece of thin scrap paper for masking purposes.


Next, I trimmed the card to the size I want and cut the upper corners with scissors to make the tag shape. After trimming off the first upper corner, I used the cut out triangle as my guide for the second corner: I placed it on top of the second corner and cut along the edge of the cut out. This way, I got two corners that are exactly the same without needing a die cutting machine or any measuring.

Then it's time to place the masks. I used a post-it note for masking the square and washi tape for masking the edges. Because my washi was patterned, it was easy to tape the card edges evenly without any measuring -the pattern on the tape was my guide! I also masked the flowers outside the post-it note using my stamped scrap paper. This is how the tag looked like with the masks in place:


Then it's time for sponging. I used a sponge tool and Distress Ink for sponging all over the tag. Everything that was masked remained white. This is how the tag looked after sponging and removing the masks:


Then to the fun part: let's color in those poppies, shall we? My color combo for the flowers is YR31-R81-R83-R85 for those of you using Copics and wanting to try this two-toned look.

Here's my philosophy for quick coloring. Many tutorials speak about light sources, uphills and downhills of the image, where the shadow is cast, et cetera, et cetera, et cetera. This can all seem a bit intimidating. My tip for quick coloring is to forget all that and just look at the image and consider these 4 questions:

  1. Would the image look best with all the outlines shaded?
  2. Would the image look best with the top and bottom areas shaded?
  3. Would the image look best with the left and right areas shaded?
  4. Would the image look best darkest in the middle, lightening towards the outlines?

If you look at the not-yet-colored poppies in the beginning of this tutorial, you can see it's really a matter of taste:

  1. Having all the outlines shaded would have made the flowers look a bit "closed" and not light enough for my taste.
  2. Yep, this might please my eye.
  3. This would please my eye even more!
  4. No, this would not work.

So, I chose option 3 and did all the left and right areas of the poppies dark:


You can use this philosophy with images with many small areas too - like a person with several pieces of clothing, for example. The person's face and skirt (looks like it's a girl!) can be colored following coloring principle #3 (left and right areas shaded) but the hair can follow coloring principle #2 (top and bottom areas shaded), and maybe a hat can follow coloring principle #1 (all outlines shaded). You could also decide to play with these poppies coloring some flowers following coloring principle #2 and some applying coloring principle #3...Just let your image speak to you! :)

Okay, now I've gone on long enough about coloring principles, I bet you are all confused now and I should have shushed about the different numbers several lines ago...I got carried away! :) But as you see, the tag is almost finished and this post is coming to its end. The last thing I did was heat emboss the sentiment with white powder. I think I got quite close to Marion's look using only stamps. What do you think? Happy stamping and coloring!


Friday, August 22, 2014

Happy Birthday, Nonni!

Today is a happy day here on the STAMPlorations blog because our sweet girl Nonni is celebrating her birthday! Her baby, Rafa, stopped by earlier this week to let us know that there's a birthday linky party happening over here.

Rafa: Woof! Woof! Woof!
(Translation: My mom's having a partaaay!)

Happy, happy birthday, Nonni! You're an awesome crafter, teammate, and friend! We've got cards for you and we thought you'd enjoy seeing photos of our pets too :o)


Debra's Bella
Debra's card

Deepti's pets
Deepti's card

Monika's Boris
Monika's card

Shery's Shadow (left) & Rachel (right)
2014-08-22 OLC It's your birthday
Shery's card

Shirley's Florence
Shirley's Florence

Vicki's card