Happy Sunday, STAMPlorations friends! We are back with Trifecta Cardmaking, a fun feature wherein you'll see how the three S's in our line -- stamps, stencils, and stickers -- play well in cardmaking. STAMPgirl Sanna Lippert used just one stencil to create 3 cards with different looks + some fab stamps and stickers.
Card #1
Here is how I did the first card:
I started with the Radial Slimline Stencil on a piece of white cardstock and first applied yellow Distress Ink onto the background and then applied the red ink thru the stencil onto the paper.
After that I took orange Distress Ink and applied it thru the stencil to the lower areas of the rays.
And finally I used strong pink Distress Ink tone to apply to the upper areas. Now I was done with stenciling.
Next I stamped the Bloom Border #1 stamp and heat embossed the image with white embossing powder. After that I used watercolour pencils to color the image.
After coloring the image I applied white pearl-tinted watercolor splatters both on to the background as well as on to the colored flower border. Then I fussy cut the flower image with precision scissors.
For finishing touches I added some very tiny fabric flowers to go with the Inspirational #1 and Hey Sunshine Clear Stickers. I also added some Nuvo Drops for decor here and there.
*****
Card #2
Here is how I did this card:
I started by using the same Radial Slimline Stencil, like on my first card, but in a different way. I applied "rays" in red, pink, orange and yellow Distress Ink tones to create an "ombre" look onto a slimline sized white cardstock piece.
Next I used the pearl-tinted watercolors to add highlights to the rays with a water tank brush.
After that I used the Hello You stamp set to add some stamping to the background with grey stamp ink.
Next I took a dark grey watercolour pencil and added droplets to the background for additional decor.
After that I stamped some Bloom Border #1 images onto white cardstock and fussy cut the images.
After adhering the stamped flower images on place I cut a a Good Things clear sticker sentiment into sections and adhred them next to the flower images onto the card.
*****
Card #3
This is how I created this card:
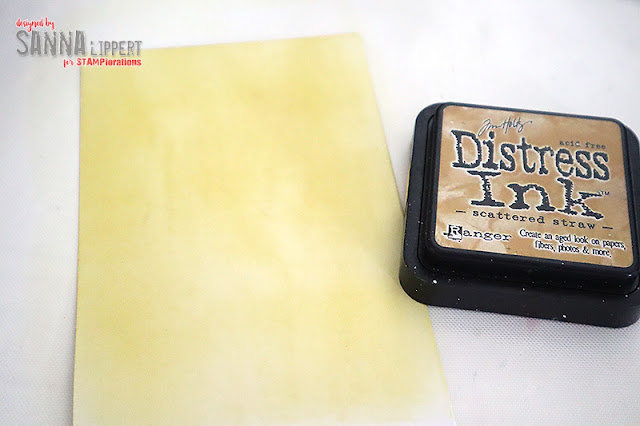
I started by inking a white cardstock piece with light yellow Distress Ink.
Next I took an orange toned Distress Ink color and used the Radial slimline stencil to apply ink thru it onto the background. Note how I turned the rays to face each other on this card.
After that I inked a small residue piece of cardstock with the same light yellow tone as the background previously and added a Inspirational #1 clear sticker sentiment onto it and fussy cut it into a banner. I also used one leftover Bloom Border #1 image and fussy cut tiny bits of it to add next to the banner on the finished card.
Before adhering everything on place I added some stamping to the background using red and grey ink tones with the Art Marks 2 stamp set.
As you can see, these cards were all done using the exact same stencil and they still look very different, because I tilted and/or used the stencil in various ways. This way you can get the most out of a single stencil, by finding new ways to use it. I hope I could inspire you a little to use the 3 S´s (stamps, stencils and stickers) in your next projects! They are the perfect match and you can use these same ideas not only on cards! Try the same techniques in your art journal, on artist trading cards, wall art projects and even scrapbook layouts.
See you again next month with another Trifecta share!
Sanna


Fabulous techniques, fabulous cards!!!
ReplyDeleteWonderful designs with these techniques.
ReplyDeleteThe stenciling looks really cute
ReplyDeleteI LOVE that rays stenciling!
ReplyDeleteAwesome use of the stencil on all three sunny cards
ReplyDeleteStay safe
Blessings
Maxine
Love the bright colors. Great inspiration!
ReplyDeleteGreat use of the stencil to get these different looks!
ReplyDeleteAll three card designs are lovely using the radical slimline stencil in different ways to create a totally different background look! Both border stamps and stickers work so well in creating this unique feel and look to your cards! Gorgeous.
ReplyDeleteI love the three different looks.
ReplyDeleteBeautiful cards. three lovely designs. the second one is my favourite. Hugz
ReplyDeleteGreat technique, great colors!
ReplyDeleteAwesome cards..
ReplyDeleteLove the bright colors.
ReplyDelete