

Hi, everyone. Cornelia here today. Since we just had that fun stencil hop at STAMPlorations. I thought why not do a little stenciling class for my spotlight feature! So lets get started!
In this first part I will talk about how to lay down simple color. I am sure you are all aware about sponging - that's what we all do most of the time.

I picked the Christmas Reindeer stencil for all the following cards.

Pick where you want the deer on your card and mask off the rest, to not get accidentally color where you don't want it.

Take your sponging tool (it can just be a piece of a household sponge or cosmetic sponge) and start sponging from the outside of the image. That will give you some subtle shading once its done

I used vintage photo distress ink here and that's how it looks like at first. I thought its a bit bland

So I secured the stencil back in place and went over the left side with walnut stain distress ink. That added some dimension.

If you want more color, you could perhaps do some rainbow sponging why not? As you can see I left the center of the deer white, since I like that dimensional illusion, but if you prefer it filled, you can just do that.

The inks I used: mustard seed, spiced marmelade, picked raspberry, wilted violet, faded jean, Avery Elle aquamarine, Adirondack Citrus.
As you can see, you can sponge quite well with other inks. In fact pigment inks work fabulously, they are so soft and creamy and blend very well.
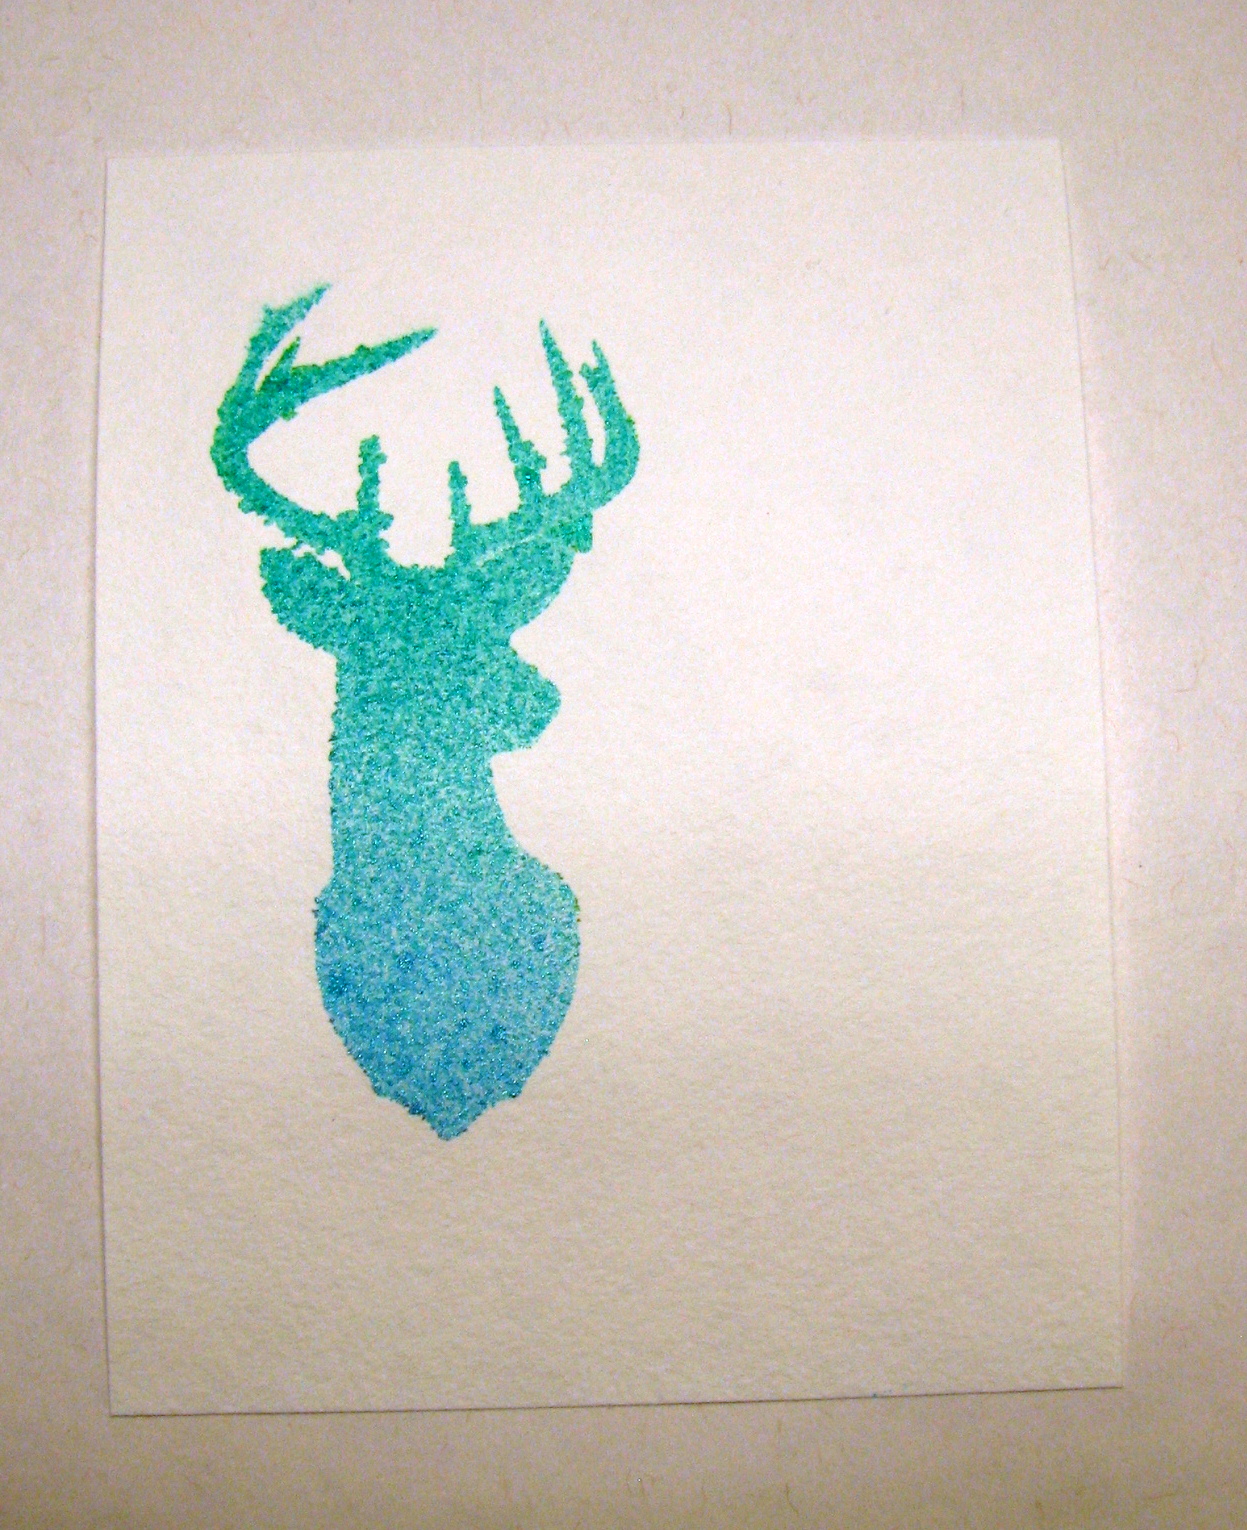
So now we are moving on to applying watery colors as I did here with spritzing on my card stock. If I use watery colors I recommend water color paper. You can stick with regular card stock, but it will warp. I used Heidi Swap sprays in a blue and turquoise hue. You see that the color seeps under the stencil, giving you irregular edges.
For the last sample I used the left-over, still wet spray on my stencil and water colored in the deer. You get a real lot of seeping here and it looked more like a blob than a deer :(
I was wondering if I have to throw it out, but I just hate to do that...So I took a fine line pen and outlined the deer on the color blob. Looks a bit better, but still - can you make it into something you can actually live with?

As it turns out, you can.


I did this one first, was not sure if I could rescue it. Stamped the sentiment. Added a thin strip of PP on the left and some Washi tape. Also added some white gel pen accents to the deer. And lastly - any form of glitter is always great - used some red gems and a glitter enamel dot.

The spritzed card:
Stamped the sentiment. Added some Washi tape and gave the deer a silver bell on a silver string. Also added silver lines to the "Christmas" and some iridescent snowflakes.

The sponged card:
Made a mask with a full sticky back post it note and masked off the deer. Also added some white gel pen accents to the deer. Stamped the wreath. Gave the deer a golden bell on a gold string. Added the splatters and the sentiment - heat embossed on dark green. Fringed the right margin and added a big red enamel dot.

And now you might be curious what happened to the rainbow deer? Well, you have to wait until tomorrow for the Muse Christmas Vision - It will make its appearance there :)
All other STAMPlorations supplies:


Remember if you try out any of the techniques from our Spotlight posts and hook your project up at our Spotlight Project Showcase you have a chance to win a $15 gift certificate (random drawing) OR your choice of 5x7 stamp set + a Spotlight Project guest designer spot (randomly drawn from the Top 3 picks).
For Stenciling Made Easy with Cornelia - Part II you'll have to wait two weeks...
....see you then!
May I CASE ing this Cornelia..you are amazing...even the boo boo one you can save it wohooo....will CASEing soon need xmas card for ATSM dt hehe.great post Cornelia!!!
ReplyDeleteSo inspiring!
ReplyDeleteI most definitely NOT miss the next installement of Stenciling with Cornelia. This is awesome.
ReplyDeleteCool. Love the different looks. Thanks for the tips. Hugz
ReplyDeleteAll of your cards are fabulous. I have to say, my favorite is the one you weren't sure you could save! It's so unique & creative and I love how the sentiment is stamped just a little on the buck.
ReplyDeletelove the reindeer stencil! had not noticed it before! lots of great looks!
ReplyDeleteFantastic stenciling Cornelia, I like the the addition of the bell.
ReplyDeleteWhat a lot of variations and alterations to make some wonderful cards
ReplyDeleteBlessings
Maxine
LOVE these, Cornelia! Awesome job!!! Thanks for sharing!
ReplyDeleteLearnt lots from your tips, thank you so much x
ReplyDeleteYou are so talented, Cornelia! Fabulous cards, awesome lessons - I'm looking forward to Part II!
ReplyDelete=]
Very inspiring cards, Cornelia...
ReplyDeleteThis is a fantastic stencil and I love your tutorial and the different cards you have made with it!
ReplyDeleteGreat cards! Love how you used the stamps and the different colors!! Lovely embellies too!
ReplyDeleteWow! These are great cards using stencil. Love the different way of inking the deer :)
ReplyDeleteGreat tutorial. So much to learn:)
ReplyDeleteI'm just getting around to your tutorials and I enjoyed this one, Cornelia. I'm off to see the other two. I just hope I can remember all your different ways to use a stencil.
ReplyDelete