

Welcome to my second Mixed Media tutorial! Today I am sharing a technique with the Gelli plate (or other similar product) but not in the traditional way...Unlike opaque and messy acrylic paints I used pigment inks in transparent layers in a more controlled approach.
Dye inks are not thick enough for this and will bead up, the Versafine Clair inks I used still beads up slightly, but this adds to the charm of the layers.
You will also need a brayer to apply the inks and some tissue paper, a stencil, stamp(s) and some cardstock for the prints.

As my Gelli plate is a lot larger than the tags I wanted to print on I placed a clean tag under the Gelli to give me an idea of where I should place my inks and motifs.
Load up the brayer with different inks on the left and right sides of the brayer.

Choose colours that are harmonious together and will not create mud (e.g. any of the complementary colour combinations, red and green, blue and orange…)

Roll the brayer on the plate until the colour looks smooth.

Immediately place the stencil on the plate and with the tissue paper, absorb the inks.
The inks show through the tissue paper as it is so thin, so you will know if you missed any areas.

Remove the tissue paper, you can keep it for another project.
[The tag you see in this photo is the one UNDER the plate]

Place the tag on the plate to take the first print. Roll over with a brayer or with the flat of your hand.

This is the first layer printed, now on to the next layer…
As before, ink the brayer and apply to the plate. Use the same colours (on the same sides).

Use stamps (no ink) on the plate and stamp off on some scrap paper before stamping again.
You can also add some stamping with ink, as I did with a bird stamp.
Try and work quickly to prevent the ink beading up…

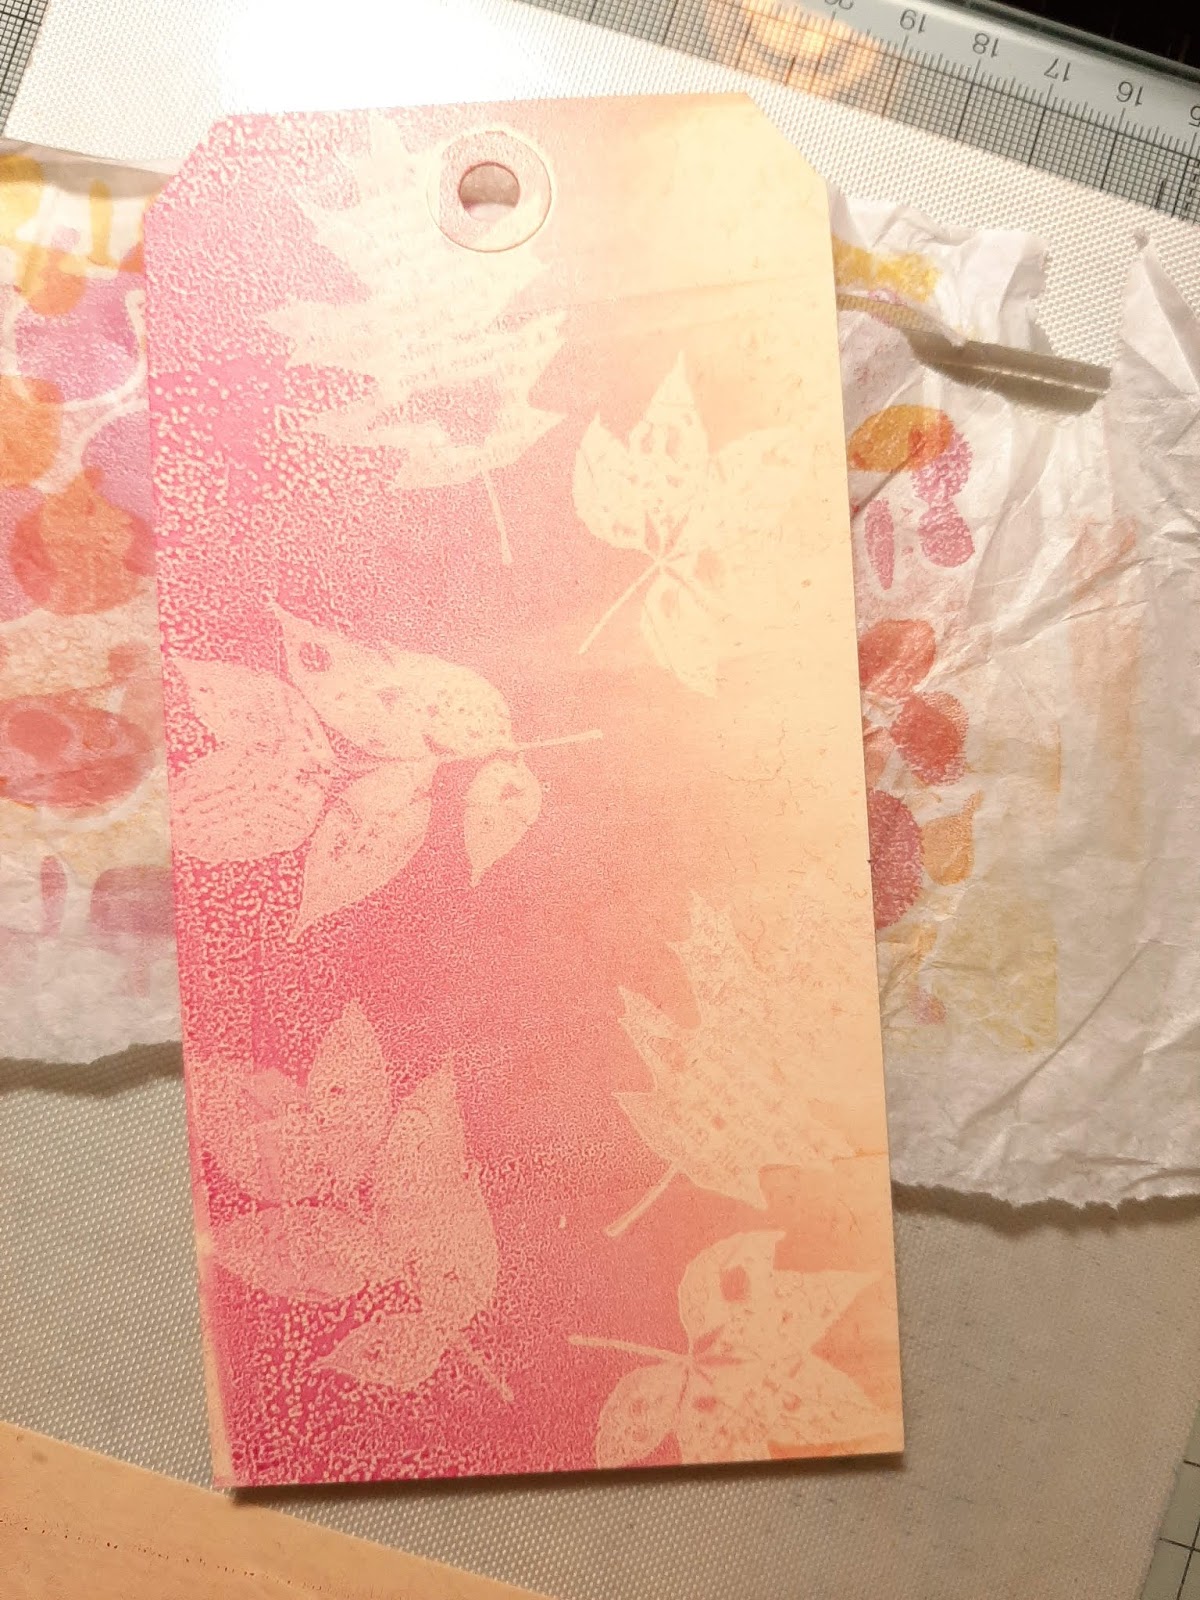
Here's my first print completed.

For my next tag I reversed the process and started with the stamping before the stencilling.
My first layer, after inking up and stamping. I considered stopping there as I was quite happy with it!
I inked up the plate again and used the same stencil, removing the ink with tissue paper.
I decided to print the bird stamp directly on the tag in this version so the script would be the right way around…

For my 3rd tag, rather than applying the ink to the plate and removing with the tissue paper, which gives the "negative" of the design I applied the ink through the stencil to obtain the "positive" of the design.

Like this...

For my second layer I simply brayered one colour all over and overstamped with an inked leaf image.

In my rush to get the best print I misjudged the placement of my leaves, so this one is a fail but you get the idea...

All the prints I made:

Stamps, stencil and die used:
There you have it, monoprinting in transparent layers with the Gelli plate!
I hope you enjoyed this tutorial and try it out, I will be back next month for another tutorial.
Wonderful tutorial, fabulous technique and gorgeous tags!
ReplyDeleteFabulous step by steps, very creative and fun to use the plate in this way....Thank you x.
ReplyDeleteSimply gorgeous!
ReplyDeleteBeautiful. Thanks for sharing how you made these. I have been wanting to try this.
ReplyDeleteLovely clear tutorial. I'm just getting to grips with gel printing. Will give it a go xx
ReplyDeleteVery cool! I'm not very familiar with the gelli plates, but what I have seen is very interesting! Your tags are beautiful!
ReplyDeleteLike the layers of color you created. tfs
ReplyDeleteThanks for the clear tutorial
ReplyDeletethese tags are so pretty!
ReplyDeleteGreat tips - especially putting the tag under the plate.
ReplyDeleteGorgeous work...
ReplyDeleteWOW. Have to try this metode! Soft and gorgeous cards:)
ReplyDeleteWow, they are gorgeous. I forget to use my jelli plate....maybe today...
ReplyDeleteA great tutorial!!!
ReplyDeleteLove these tags, different and all beautiful, and your technique Craftyfield... Wonderful to try, I think I'll have a try today, thanks! :)
Wonderful technique with the gelli plate - the transparency of the ink makes all those layers even more magical. I've bookmarked this to play with in the future, thank you!
ReplyDeleteAlison x