

Happy Wednesday, STAMPlorations friends! Autumn is here which means it is time to make some Christmas cards. Should you be looking for festive inspiration, our Christmas in the Air blog feature with STAMPgirls Nancy and Monika will hopefully get your creative mojo going.
We'll also randomly draw one lucky winner of a $15 gift code from all the comments left on this post, on Nancy's post and on Monika's post. Let's have a look at their festive makes.


Here is a more detailed look:
My STAMPlorations teamie, Monika and I are happy to share our September Christmas in the Air Feature Projects. We hope our projects will inspire you to add to your Christmas Stash. Only 3 months left before Christmas...Oh My!
Here are my 1st two card projects using these STAMPloration products.
CRAFTplorations ATC Chipboard, ARTplorations Sanna Snowflakes Stencil
Homespun Christmas (sentiment)
Circles All Over Texture Cover Plate Die (available starting October.

I am sharing a few photos and description of my steps.
Step One
Placed Snowflake Stencil over Artist Trading Card (ATC) and secured with masking tape.
Covered with Dreamweaver Embossing Paste.

Step Two
Removed Stencil

Step Three
Sprinkled Ranger Fired Brick Embossing Glaze over wet snowflakes and heat embossed.

Close Up of Snowflake Stencil and Shine and Texture from EB Paste and EB Glaze.

Step Four
Used the soon-to-be-available Circles All Over Texture Cover Plate Die for card front background.

Step Five
Stamped "Homespun Christmas" sentiment with Archival black ink.
Attached ATC Snowflake image on both cards and Done!

My STAMPGIRLNANCY coupon codes is available at checkout for a 20% discount
on your order.
My STAMPlorations Products for snowflake cards....


*****************
My 2nd Christmas in the Air Sept 2020 Projects using these STAMPlorations products:
CRAFTplorations Chipboard Basic Tag 3.25" Tall.

Fun and Quick Christmas Tags for packages or trays of cookies:-)
Step One
Placed stencil over Chipboard Basic Tag and watercolored with light green and red Zigs
Real Brush Pen. Repeated with 2nd tag and dark green and red Zigs Pen.


Step Two
Die Cut Luggage Tag and Stitched Tag out of red card stock.
The Chipboard Tag fit the Stitched Tag best by trimming the angled top of tag.
Attached stenciled tags to die cut tags.
Step Three
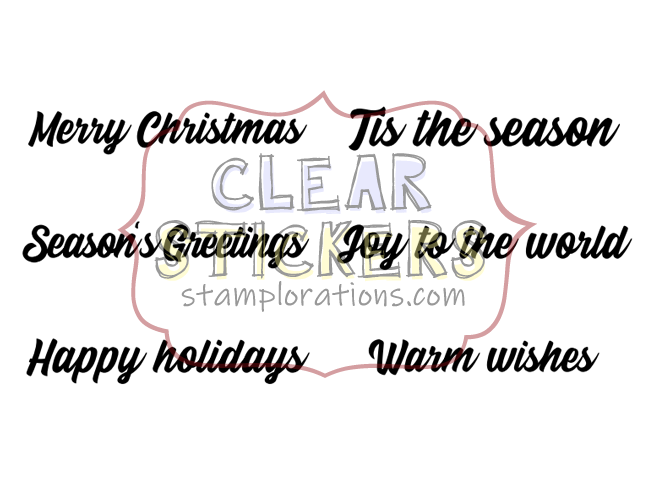
Added "Joy to the World" Clear Stickers and twine from my stash and Done!
My STAMPlorations Products for Tags:


love and hugs

*********************
Hi Crafty Friends! Well, what can I say? Autumn is here and it's high time to make some Christmas cards. Today I'm sharing a couple of projects made for September's Christmas In The Air feature. In this special feature Nancy and I are sharing a couple of Christmas projects each.
My first card features Sanna's new Holly Stencil in combination with my Triangle Flexi-Template (due for release in early October), the Oh, My Stars! Mini Stencil, the Layered Lights stamp set and the Simple Christmas clear stickers.
I placed the large triangle template first on my card stock and then the Holly stencil over it to first sponge the holly with Old Olive SU ink. I then removed the Holly stencil and sponged the triangle.


To finish I added some stars from the Oh, My Stars! mini stencil, the stamped Layered Lights and the Simple Christmas sticker sentiment.
TIP!: Whenever I want to use edging on a sticker sentiment I use an alcohol marker rather than ink. That way it won't wipe off.


Here are the products with links from the STAMPlorations Store I used in my card:


Oh My Stars! Mini Stencil, Triangles Flexi-Template


*****************
Next up is a card using another one of Sanna's new stencils, Winter Flowers, in combination with the Triangles Flexi-Templates and the Layered Lights stamp set.

The inside reads ... Merry Christmas.
Here is how I used the Flexi-Templates to create the striking background. I first lightly sponged the triangle in Aurore Izink ink.

Next I sponged the frame in Miel Izink ink. I used the triangle missing from the photo below to align the inner triangles as mask. It was used as spacer and I simply removed it after I secured the inner triangles in place.


I placed the frame back in and placed the Winter Flowers stencil over it to stencil the flowers in the center.

To finish, I layered on my base card and added some lights, sentiment and sequins.


Here are the products with links from the STAMPlorations Shop:
Winter Flowers Stencil, Layered Lights, Triangles Flexi-Template

Hopefully Nancy and I have inspired you to add to your 2020 Christmas stash.
Wishing you lots of fun hopping along.
hugs
Monika xxx
*********************
For a chance to win a $15 gift code to the STAMPlorations store, leave a comment here and on the designers' blogs (Nancy's blog here and Monika's blog here) by October 8. We'll announce the winner in the September winners post on October 10.
If you enjoyed today's Christmas In The Air feature post, Nancy and Monika will be back in November with more festive inspiration. Keep your eyes peeled!
During September we are offering 25% off all clear stamps with code STAMP25 and 15% off all stencils with code STENCIL15. Check out our Current Promotions page for a full list of our latest offers.

Nancy and Monika have created such delightful holiday projects. Like the unique look they gave to these. tfs-stay well.
ReplyDeleteSuch festive cards and great techniques using some new products that I must have!
ReplyDeleteWOW WOW WOW! I LOVE all these holiday cards! The stenciling is sooo cool!!! Just beautiful!
ReplyDeleteWonderful variety they have created!
ReplyDeleteFabulous and festive projects. Great techniques.
ReplyDeleteGreat ideas for Christmas - it is coming too soon
ReplyDeleteGreat designs on
ReplyDeleteall the cards. I
love the embossing
and stenciling.
Carla from Utah
Great way to start on your Christmas cards...great cards and great ideas.,,,,TFS
ReplyDeleteWow, great ideas!!
ReplyDeleteBeautiful cards - I especially like the Christmas Bulbs
ReplyDeleteOh, I so needed this post!!! Am so going to play with some of these techniques!!!
ReplyDeleteI love the kraft backgrounds. So cute!!
ReplyDeleteAwesome cards and tags! I am up to my ears in creating Christmas cards too, so thanks for the inspiration and ideas!
ReplyDeleteGreat Christmas cards. Love the different stencils.
ReplyDeleteWonderful holiday projects, Nancy and Monika! Thank you so much for your step-by-step instructions with pictures!
ReplyDeleteHideko xx
Great Christmas cards ready to inspire us all!! Love the colorful ornaments especially!
ReplyDeleteso very nice!
ReplyDeleteOMG! these Christmas cards and tags are so beautiful! So much talent!
ReplyDeleteWow, great ideas!
ReplyDelete