I don’t know about you, but when the holiday season rolls around, I’m usually scrambling to get the number of Christmas cards I need and am always dreading that extra 15 cent stamp for sending bulky, lumpy, or bumpy cards.
So this year, I had some forethought - at least to the bumps and lumps (but not to the procrastination). I designed an easy-peasy card that packs a wallop of wow! Skimp on the time, not on the style.
The first thing I did is created a triple dipped Distress Ink background. I've often heard people say they don't like distress ink dipping, but I think that's just because they haven't built up enough layers! A lot of people stop at one dip. Let me show you the difference.
I started by smooshing three different colors of blue Distress Inks on the background, two regulars and one Oxide. Oxides give it a nice chalky matte finish.
Next, I pressed my paper down in it and swished it right to left and left to right, and then just for good measure right to left again.
This is after dip one. I dried it with a heat tool to speed the process.
You can see it's pretty and has a nice wash, but don't stop there, my friends! For layers 2 and 3 you want to press the paper down into the ink spots on your mat, but this time DON'T swish or move, just pick up the color.
Make sure to dry fully between each dip.
Once I had the layers built up, I wanted to add a little snow. I used Picket Fence Distress Spray Stain to splash the background.
But a background is nothing without a foreground. To jazz it up and make it all Christmasey, I die cut the Stitched Winter Landscape. I wanted to make it extra special and what's more special than GLITTER?!
I brushed over the trees and the house using Wink of Stella.
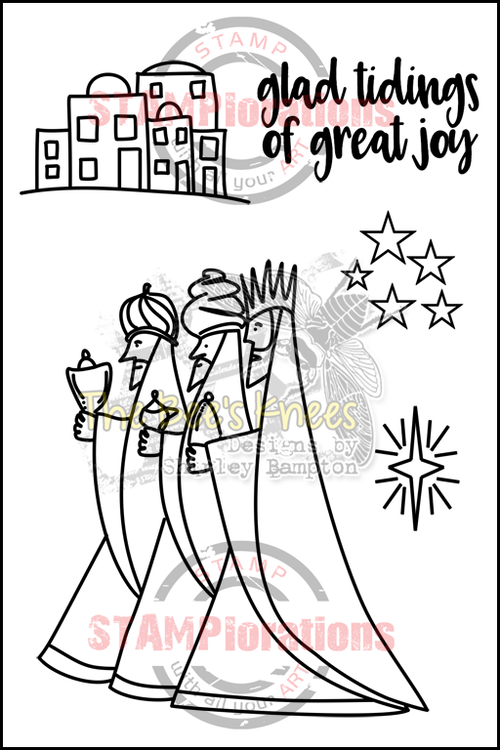
I added a sentiment from the Bee's Knees: Three Kings stamp set and three little sequins and viola! A gorgeous holiday card that won't break your time OR postage stamp budget!
Here are the products Becca used in today's project:


as always amazing background with just the perfect amount of inky painty layers
ReplyDeleteWHAT A COOL BACKGROUND!
ReplyDeletelove this card, Becca - the DO ink really is a great touch!
ReplyDeleteGorgeous background
ReplyDeleteand love the snow scene
with the glitter touch!
Carla from Utah
Fabulous card Becca
ReplyDeleteThanks for sharing how you made the background.
ReplyDeletegorgeous card!
ReplyDeleteBeautiful Becca. Thanks for the tips. Hugz
ReplyDeleteLove this technique!!
ReplyDeleteNice idea for a card design. The extra postage is sometimes a concern for my cards.
ReplyDeleteBeautiful card! Love that pretty background and the die cut!
ReplyDeleteWhat a beautiful card love how you did the background
ReplyDeleteBeautiful blue sky with the pretty white scenery die cut!!
ReplyDelete