Hi, everyone. Cornelia here today with a tutorial for a slider card.

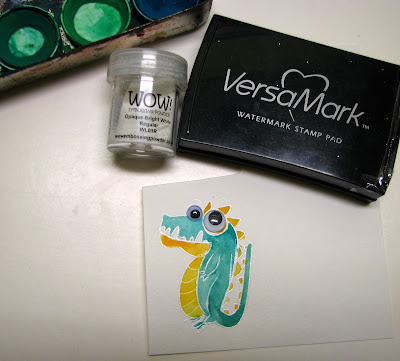
My supplies:
I started out heat embossing and water coloring the cute little dino on water color paper. I thought he would be extra cute with googly eyes.
I selected a turquoise piece of card stock as my background (A2 format) and dry embossed a slightly smaller piece of white card stock with an embossing plate.
Punched two 1-inch holes in it and cut a 1 1/2-inch strip of white card stock and dry embossed it as well.
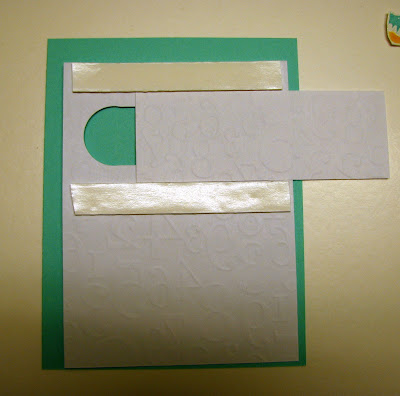
I cut the paper in between the holes. I centered my paper strip and placed two strips of foam tape adjacent to the strip - just a tad away from it, so it can move freely.
I marked with pencil where the opening is going to be and stamped and heat embossed the sentiment.Mounted the dino with foam tape onto the strip and trimmed the left sided margin of the strip so it does not show anymore.
Sorry for the blurry pic, but that is the backside before I put everything together.
Here is the assembled card: I made some additional changes - gave the dino some white dots. Glued on the googly eyes.
and colored in the BIRTHDAY with Copics.
Hope you liked this! See you in two weeks and perhaps then I'll have my last installment of my little stencil class ready by then.


so fun
ReplyDeleteLOL, love this card! Just so cute! Thanks for the tut on the slider.
ReplyDeleteI love this! Thanks for showing us how to make it. I have to case it!
ReplyDeleteSuch a cute card
ReplyDeleteWhat a cute dino and a fabulous card
ReplyDeleteBlessings
Maxine
Super Idee ;))
ReplyDeleteGanz liebe Grüsse Elisabeth
eine wirklich lustige Idee !!!
ReplyDeleteLG hellerlittle
Fun and clever ..thank you x
ReplyDeleteThank you for the tut! This is adorable! These slider cards are all the rage and I'm hoping to try one myself soon!
ReplyDeleteCute! Love the textures and colors!
ReplyDeleteThoroughly adorable dino. Sun a fun card:)
ReplyDeleteALL so cool and it is fun to see how you made this fun slider card work - I am so impressed!!
ReplyDeleteOh my, how did I miss this. So cute. Love it. Hugz
ReplyDelete