

Hello! Super excited Melissa here with my first mixed media tutorial for STAMPlorations featuring ARTplorations stencils.
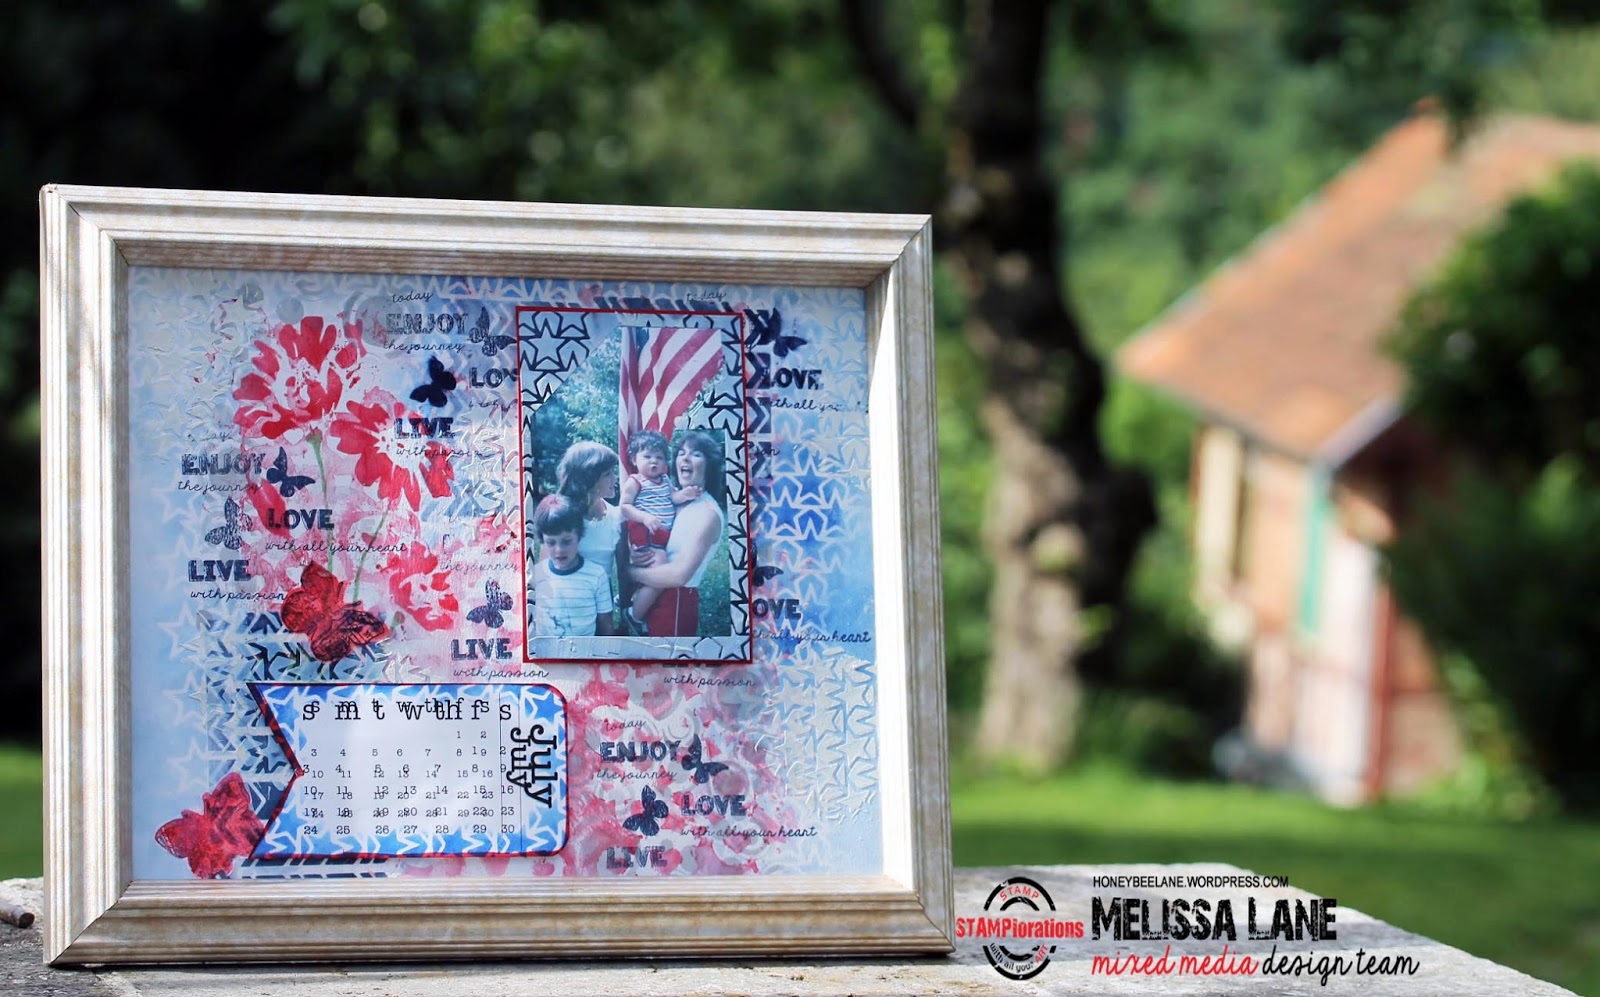
Here's my calendar page wall art:

Here are the steps I used to create this project:
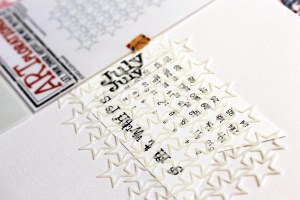
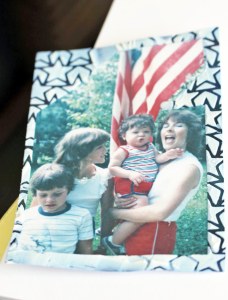
1. I printed a photograph and calendar (doubly) and trimmed the calendar into a banner shape.
1. I printed a photograph and calendar (doubly) and trimmed the calendar into a banner shape.

2. I wetted some mixed media paper and applied red Gelatos through the Hearts in Bubbles stencil onto the paper. I also used the inked up stencil to print the negative version of the stencil onto my panel.


3. While the hearts dried, I sponged blue dye ink onto the calendar through the Stars Align stencil.


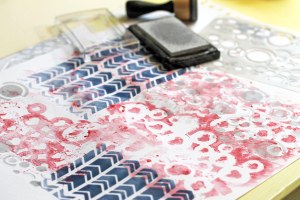
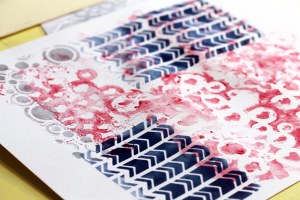
4. Then I sponged navy ink through the Crazy Chevron stencil onto the dry bg panel.

5. Next, I sponged silver ink on using the Bubbles stencil.
6. I added flowers by applying red and green ink through Happy Flowers and then sponged on royal blue dye ink stars with Stars Align.


7. Next, I stamped sentiments and butterflies in navy blue with Trendy Butterflies stamps.


8. I masked off most of the photo & sponged the edge with navy blue dye ink.


9. Applied white embossing paste through the Stars Align stencil.


10. I removed the mask from the photo and set the photo aside to dry.
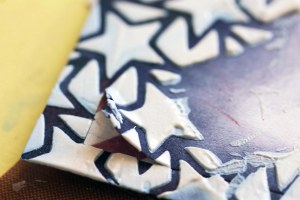

12. I added more white embossing paste stars with Stars Align to the background panel.


13. While that dried, I inked the edge of the calendar by dragging it along an dye ink pad.

14. I framed the photo in red cs and added a piece of matboard for stability and dimension.


15. I trimmed the bg panel and adhered it to matboard.

16. I also stamped 3 large butterflies from Trendy Butterflies on tissue paper and fussy cut those. I used the back of the stamp, inked up in red, to stamp first and then the front of the stamp in navy to stamp over the red image.
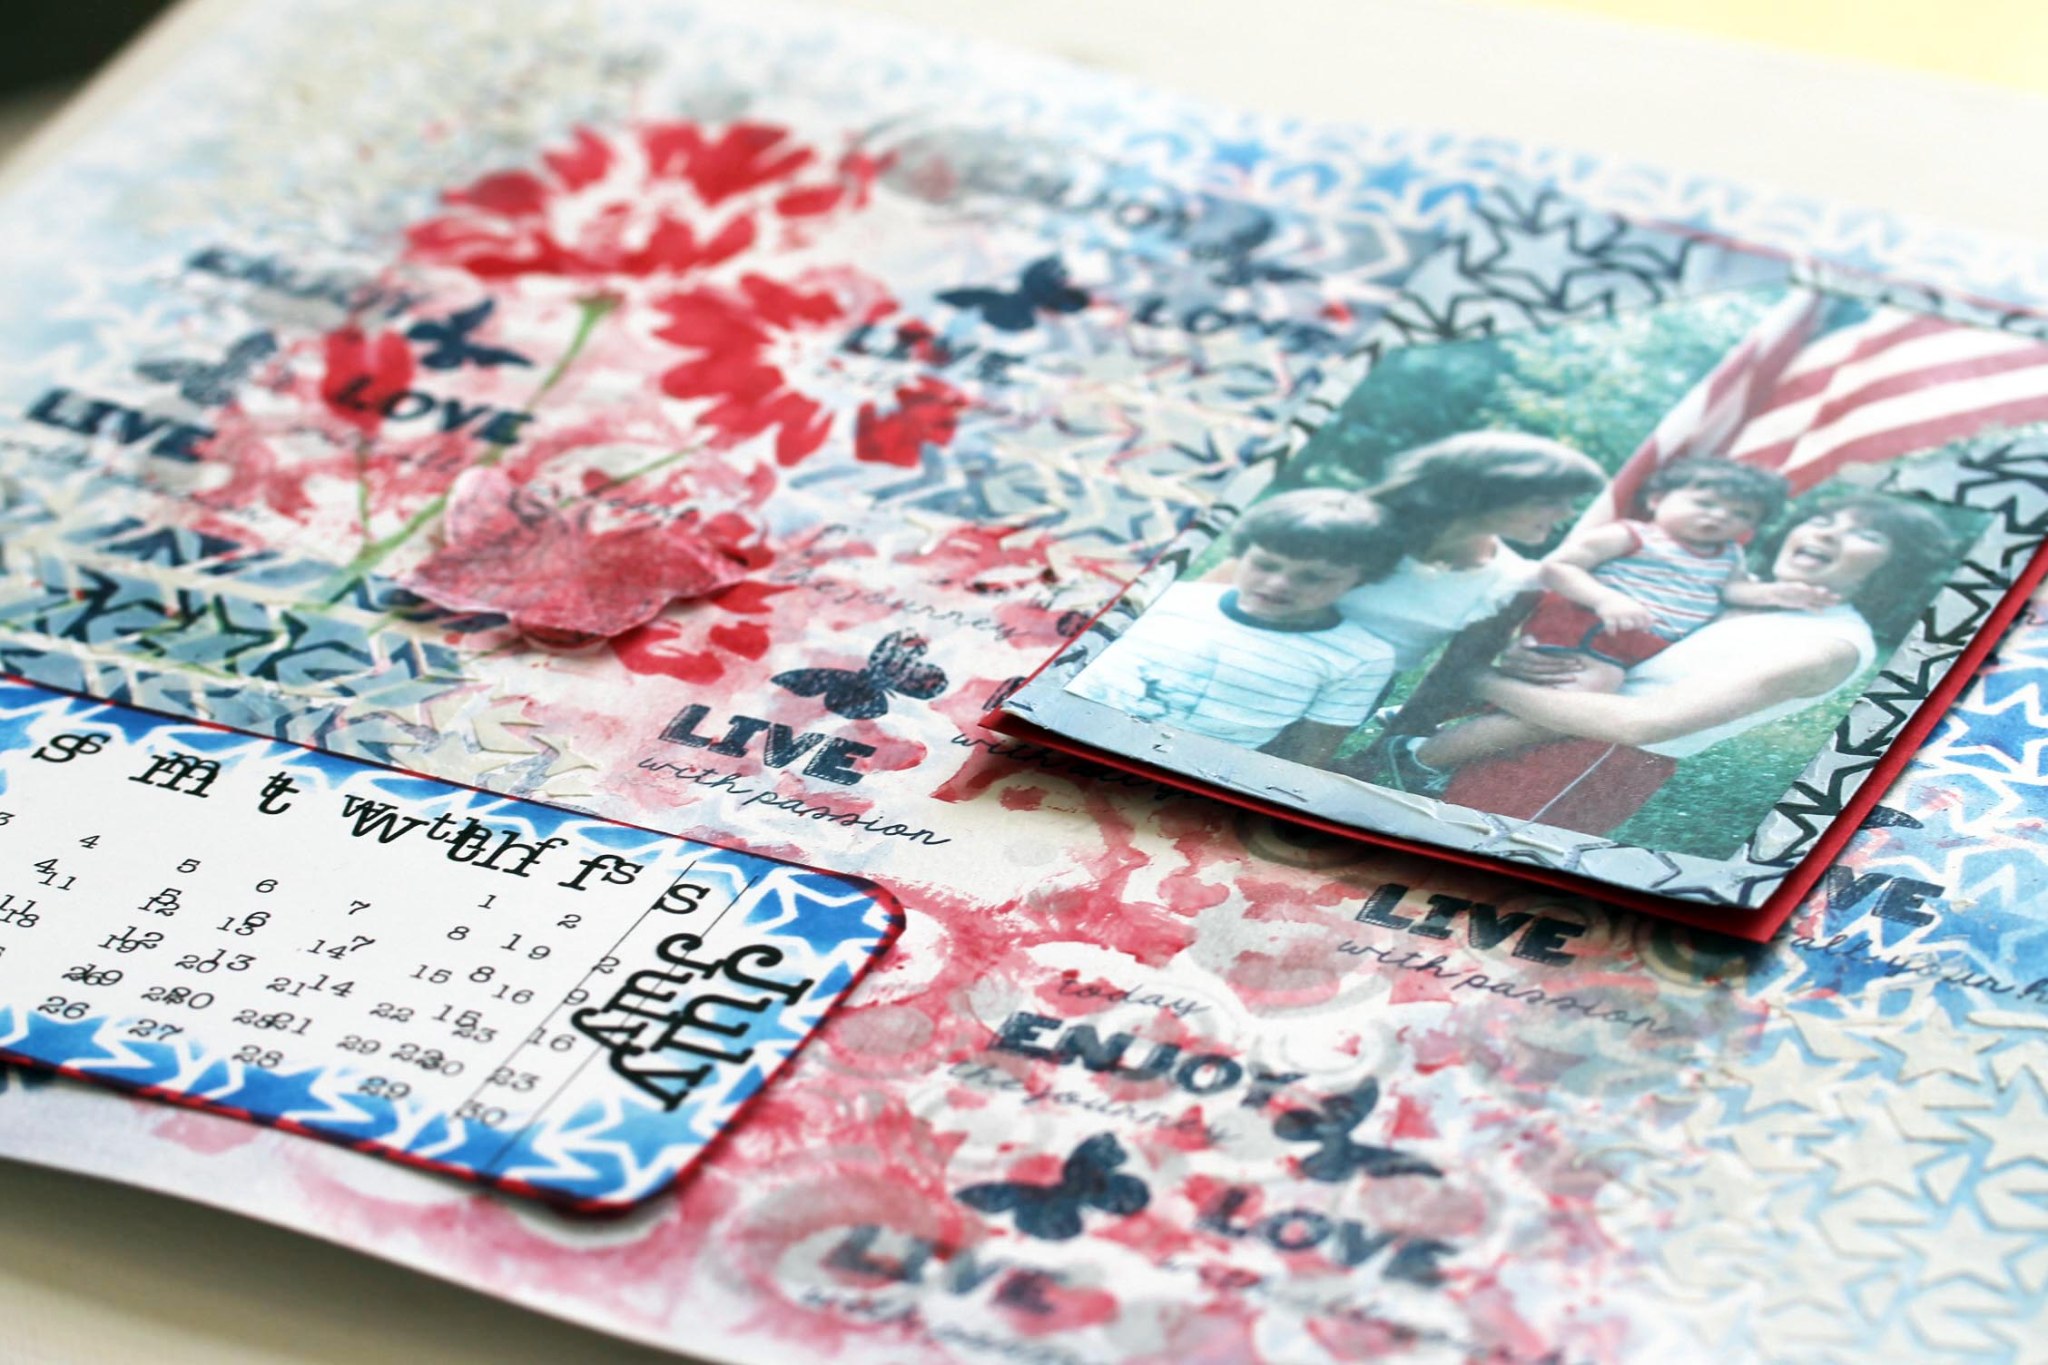
16. I adhered the tissue butterflies, the photo and the calendar to the bg panel.

17. Finally, I framed the finished piece.


I hope that you enjoyed my tutorial and look forward to reading your comments.
Thanks for stopping by!
Grace & Peace,
Melissa
ARTplorations Stencils used in this project:
Hearts In Bubbles,
Stars Align
Chevron Crazy
Bubbles
Happy Flowers
STAMPlorations Stamps:
Trendy Butterflies
Thank you so much for the step by step. Such a fun project. Loving the textures and your fabulous lay out x
ReplyDeleteThank you. :)
Deletewow!
ReplyDeleteits amazing!
Thanks!
DeleteGreat job Melissa! So pretty!
ReplyDeleteThanks, Autumn. :) I appreciate the compliment. You do beautiful work!
DeleteGreat tutorial. I love all the textures. I like how you cut the calendar.
ReplyDeleteThanks, MariLynn!
Delete