

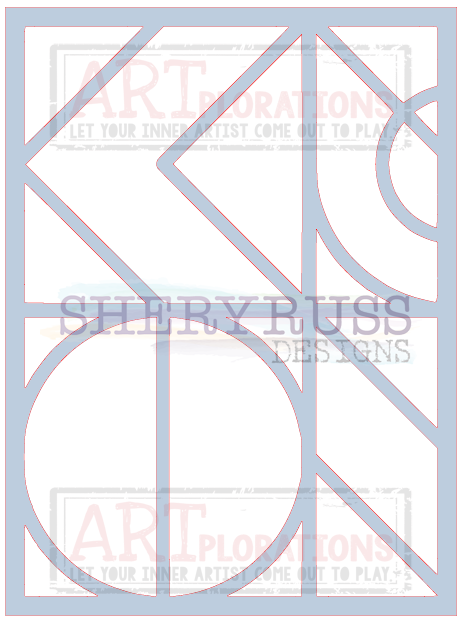
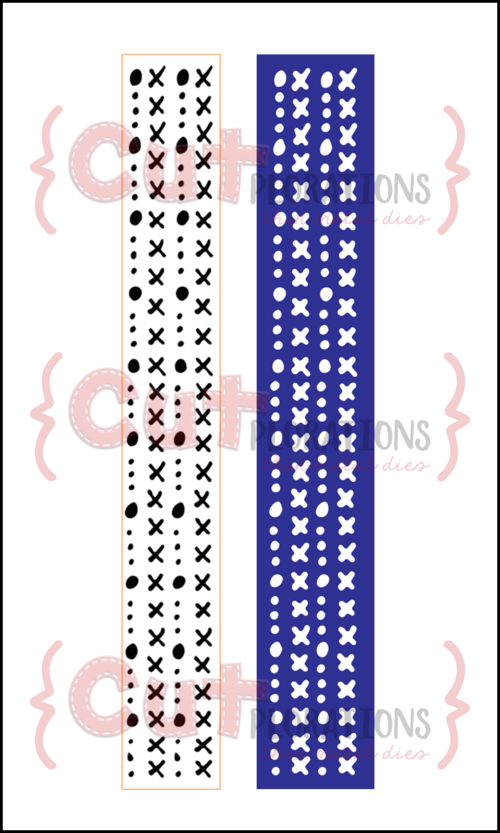
For today's projects I made a master board for my backgrounds using the Design Blox #7 stencil and ended up making 6 cards. I just couldn't stop, here they are:


I used an A4 sheet of Mixed Media card, watercolour pencils and water brush to add colour cleaning and flipping the stencil half way through to give me 6 square-ish background pieces to use.
They were cut apart at this point as I felt it was easier to work them individually trying out different ways of adding texture. You can equally well add texture to the whole sheet.


Here I got a little tip for you: Using a piece of 12 x 12 inch card, you could easily create a background for a scrapbooking page. Simply align the stencil as shown in the photo below, flipping over as required, to continue the diamond shaped pattern which you can see appearing in the above photo.

Let's get back to how I made my cards. Here is a closer look at my first card:

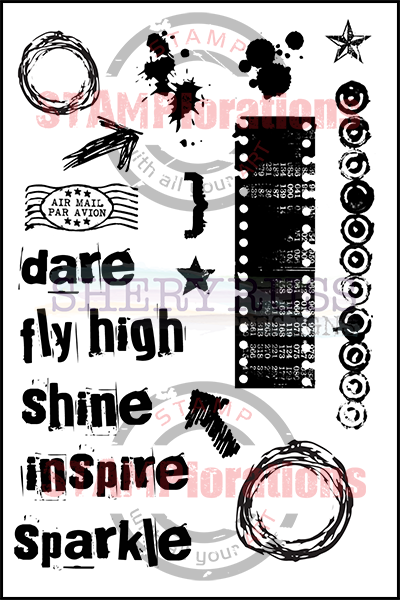
I used the stencil as a mask and added some Leafy texture in matching colours before using the circle border from the Art Marks set to fill in the white 'gaps' left by the stencil. I did this using my fingers instead of an acrylic block as it gave me more control when it came to stamping a shorter length of circle border.


Let's get back to how I made my cards. Here is a closer look at my first card:

I used the stencil as a mask and added some Leafy texture in matching colours before using the circle border from the Art Marks set to fill in the white 'gaps' left by the stencil. I did this using my fingers instead of an acrylic block as it gave me more control when it came to stamping a shorter length of circle border.
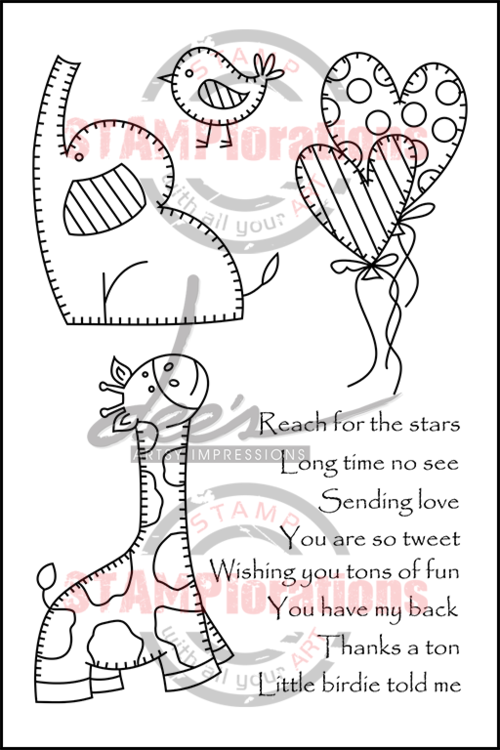
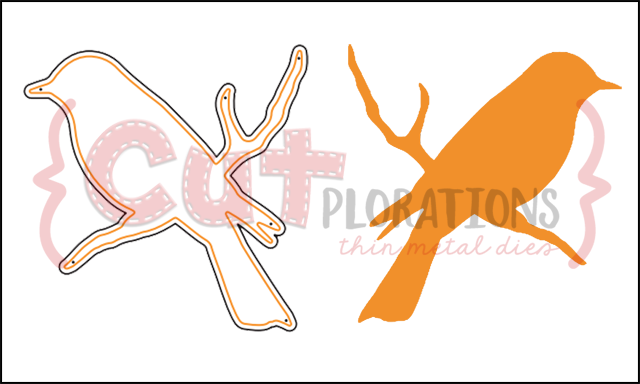
The die-cut Perched Bird, a stamped sentiment and a couple of sequins finished my card off.


I've been a little cheeky with my second card and dug out one of Shery's first sets, the now retired Patchwork Frenzy Graphic Squares, as I could see it work really well with graphic background shapes.


I've been a little cheeky with my second card and dug out one of Shery's first sets, the now retired Patchwork Frenzy Graphic Squares, as I could see it work really well with graphic background shapes.
You can always doodle your own stitching for a patchwork feel. Should you have the set, now might be a good time to use it again.
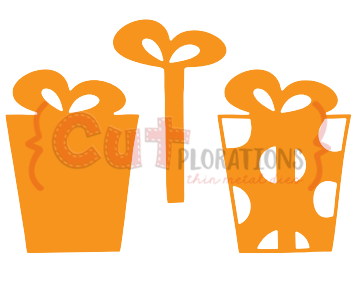
My card was finished off with a die-cut gift, sentiment and gems. Silhouette shapes work really well with these bold backgrounds.

For my third card, I created a little scene using one of the circle pattern squares.

Again I used the circle border to fill in the gaps, added some die-cut trees and my brushmarker painted sun before matting and finishing off with a little sentiment.

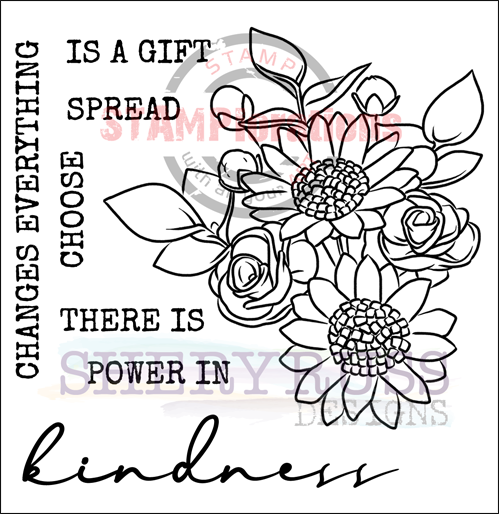
My fourth card uses the second circle pattern square to frame the delicate florals. I stamped the Kindness florals with Archival ink, added some more colour with my watercolour pencils and finished off with white gel pen doodles.

For my third card, I created a little scene using one of the circle pattern squares.

Again I used the circle border to fill in the gaps, added some die-cut trees and my brushmarker painted sun before matting and finishing off with a little sentiment.

My fourth card uses the second circle pattern square to frame the delicate florals. I stamped the Kindness florals with Archival ink, added some more colour with my watercolour pencils and finished off with white gel pen doodles.
For a bolder look try using pencils or Memento ink and alcohol markers.

For my fifth card I simply added some stitching and grunge to create my background.

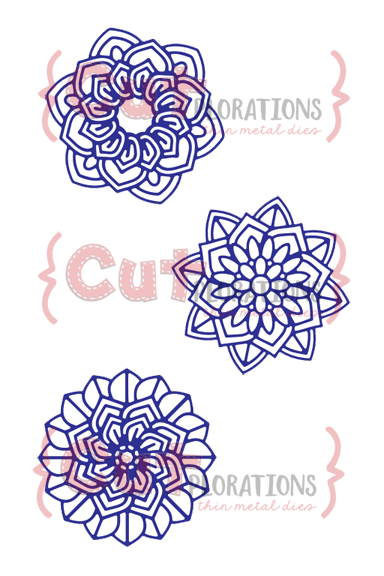
It was finished off with a stamped and watercoloured Bloomdala Bliss shape, a Bloomdala Bliss Felicity die-cut and stamped sentiment.

For my fifth card I simply added some stitching and grunge to create my background.

It was finished off with a stamped and watercoloured Bloomdala Bliss shape, a Bloomdala Bliss Felicity die-cut and stamped sentiment.
The stitching came from the retired Graphic Squares set mentioned above and would be quite easy to draw to achieve a similar look.

My sixth and last card simply uses a large Typographia sentiment as the focal point and some Leafy bamboo stamping as all over background texture.

These are the products I used from the STAMPlorations Shop to make my cards.


***************
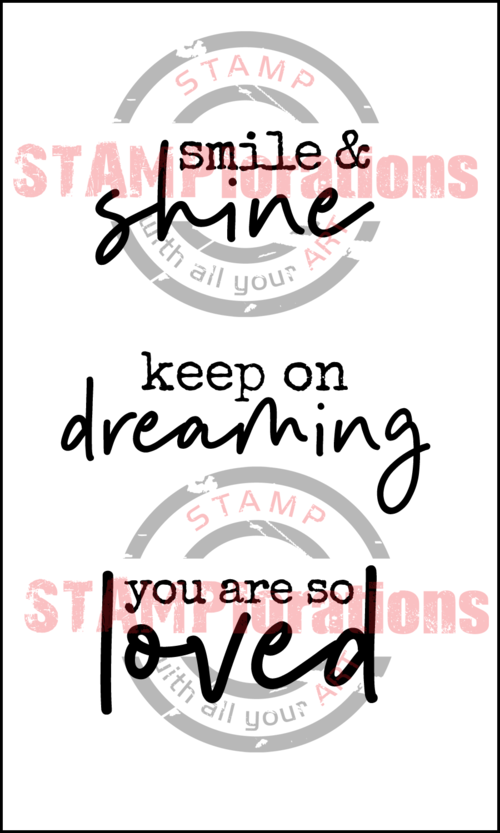
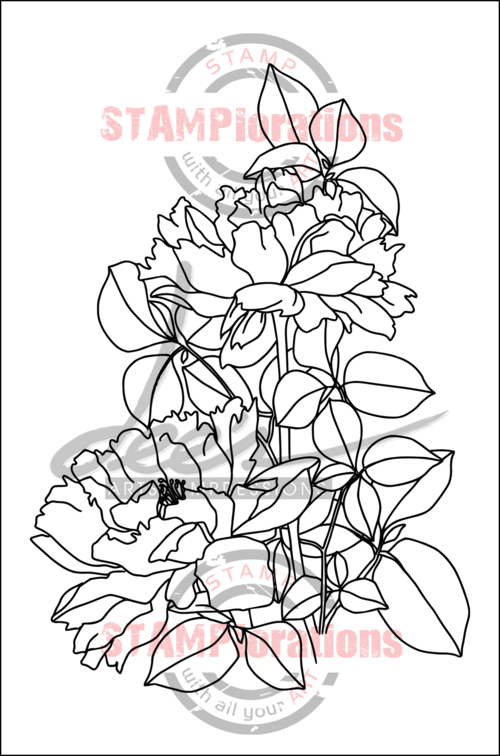
consisting of Design Blox #7, So Loved, Blossom Sprays #6 and Art Border #3
These were just a few ideas on how to use these cool new stencils to create stunning bold backgrounds. i hope you feel inspired to try your own.
That's it from me for today. Wishing you a lovely week.
hugs
Monika ❤
hugs
Monika ❤
A really lovely set of cards, great use of the stencil
ReplyDeleteThese are just beautiful and I love how you cut the stenciled backgrounds apart for more versatility. I have to admit that when I saw those design blox stencils I couldn't figure out how someone would use them, but now I LOVE these!
ReplyDeleteOh, I like the bright colors. I have never used watercolor pencils, or watercolors at all with stencils. NOW I WILL. great idea.
ReplyDeleteI love these bright backgrounds!
ReplyDeleteGreat design ideas, Monika!!!
ReplyDeleteAll are so well designed and beautiful!
ReplyDeleteJust so gorgeous!
ReplyDeleteThese bold graphic designs are fabulous!
ReplyDeleteThanks for showing us how wonderful those design block backgrounds look with silhouettes. Your projects are fun and colorful!
ReplyDeleteThese are awesome. Love the stamping on the colour blocks. Hugz
ReplyDeleteSo colorful and pretty!
ReplyDeleteWhat amazing work, and I love how the stencil flips and forms a greater pattern...
ReplyDeleteStay safe
Blessings
Maxine
These are so colourful and creative! Really caught my attention! Well done!
ReplyDeleteI love all of these!
ReplyDeleteVery cool idea to use the stencil to create the backgrounds like this...love the final results.
ReplyDeleteGreat cards, I had already commented once and for some reason didn't go through.
ReplyDeleteGreat project shares on how to use the stencils.
ReplyDelete