


Hello, crafty friends! It's Monika here today, showing you how I created a case for my tablet. I was simply looking for somewhere to store the tablet on our coffee table rather than creating a multi functional case providing a stand and camera hole. This is what the finished project looks like:

I measured my tablet (length, width and thickness: 21 x 12.5 x 0.9cm)) and added 5 mm to each measurement (21.5 x 13 x 1.5cm) and created my template. There is a bit of adding up to do, and I got it slightly wrong hence the strip on the right hand side becoming a feature on the cover.
TIP!: If you make a mistake, use it to your advantage.

Along the longer side (42cm) butted up against the top of my scoring board, I scored width, 13cm in my case, depth, 1.5cm (score line at 14.5cm), width (score line at 27.5cm), depth (scoreline at 29cm) and width (left over 13 cm)
formula: depth + width + depth + width + depth
The shorter side needed to be cut down by 3cm. As my cutter doesn't cut A3 pages and I wanted to use the center part of my card I decided to simply start by scoring 1.5cm first with the shorter edge (29.7cm) butted up against the top, added 1cm as a flap for gluing (score line at 2.5cm), depth (scoreline at 4cm), length (score line at 25.5cm), depth (scoreline at 27cm) and 1cm as a flap for gluing (scoreline at 28cm).
formula: flap for gluing + depth + length + depth + flap for gluing
The areas I was going to cut off using my craft knife are marked with X

Next I cut pieces of chipboard slightly narrower than my measurements to match and a piece of strong paper for the inside (length by width + depth + width, in my case 21.5 x 27.5cm).

The four pieces in the above picture were cut slightly shorter and covered with velvet fabric using a mixture of double sided adhesive sheets and glue.

The above photo is going to give a general idea of where I am going with this. The part on the left hand side, where my tablet is, will be folded towards the middle to form a box pocket. The far right will form the cover.

Using my craft knife and ruler, I cut away the marked pieces.

Using matching inks, I stamped the larger circle from the Artsy Tribal Doodles for further interest. I even used my yellow (Crushed Curry) to stamp on the magenta coloured background.

Next I mixed a little magenta with some white acrylic effect paint and stenciled the rose from the large Fearless ARTplorations stencil.

The moisture from the acrylic paint had slightly bled into my watercolour background hence I decided to do some spritzing to help it blend in. Of course I was quick to mop the water up with a piece of kitchen roll. That way I ended up with a few splashes and the colours were prevented from further blending.

Once dry, I added some shading to my rose using a white gel pen and a purple marker pen.

While in the flow, I wanted to add something to the inside cover too, and spritzed with silver Artiste ink and the Big Bloom Factory Large ARTplorations stencil.

Next I added some words from the large Fearless ARTplorations stencil using pink.

Once dry, I doodled along the word outlines and heat embossed some of them using the translucent pink marshmallow embossing powder before adding some border stamping using stamps from the Artsy Tribal Doodles and Mixed Media Elements sets.
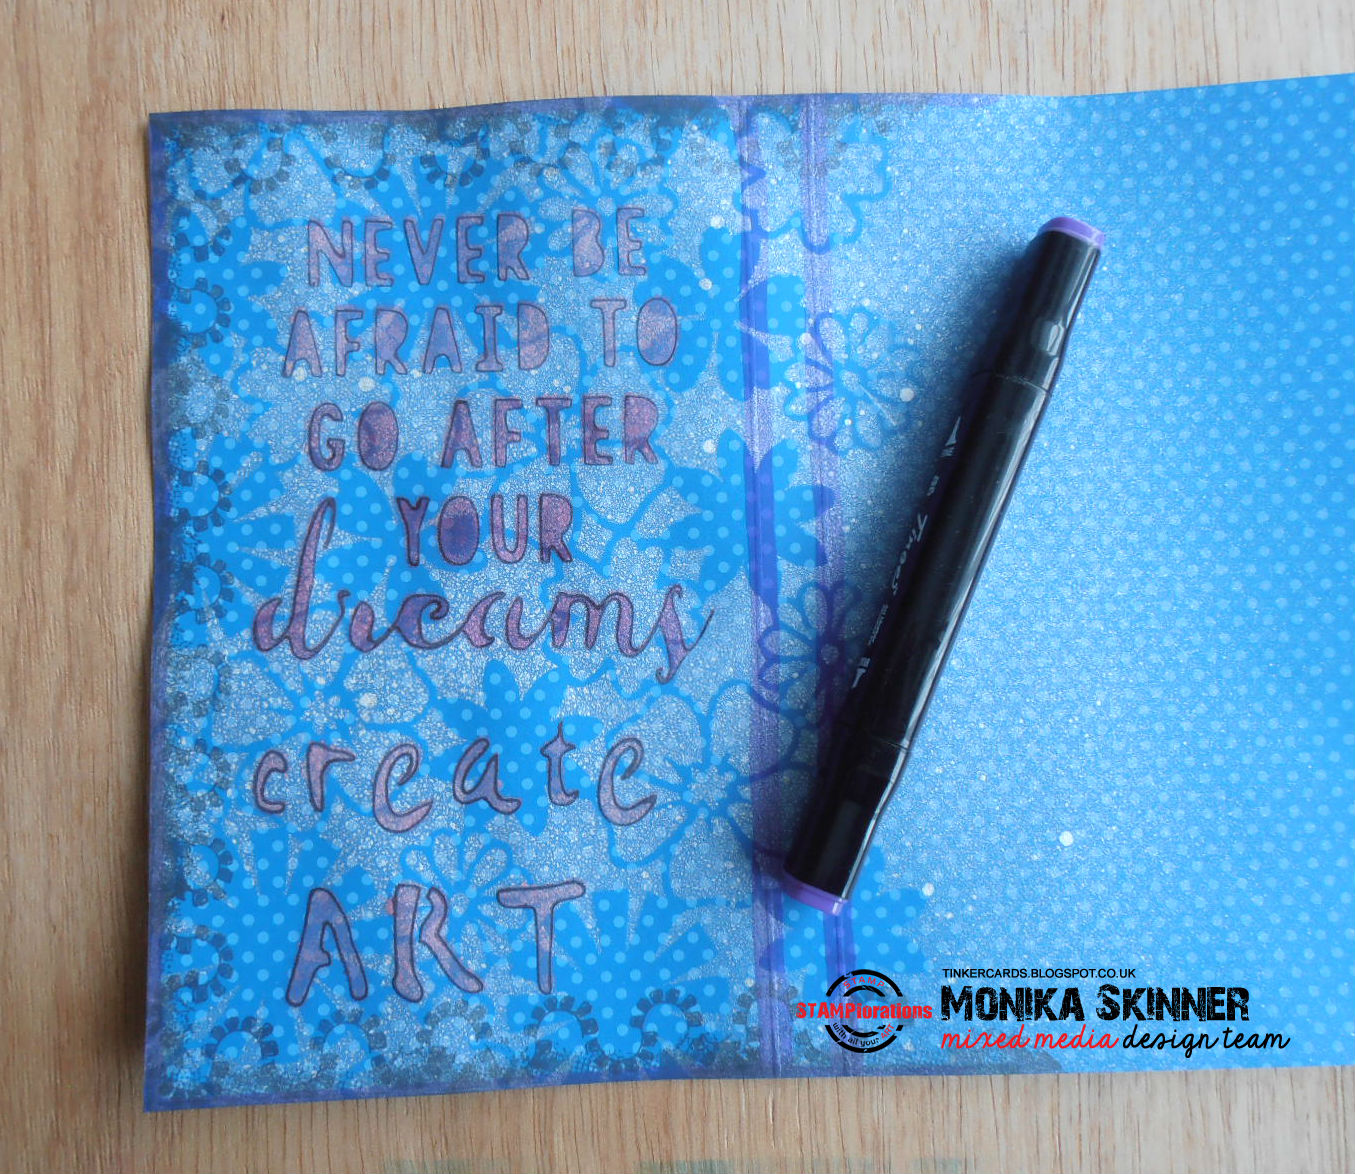
I then decided to add a little purple too using an alcohol marker.

I edged all my pieces including the above chipboard using matching alcohol markers

Next I folded all my score lines and formed my pocket attaching a piece of matching ribbon to the very left hand side and the velvet covered chipboard, plain chipboard pieces and inner paper lining as I went along.

The ribbon would slide in around my tablet and help pull it out once needed. I added a piece of ricrac to complete the folksy look. I used a length of golden elastic, two stamped discs and a button to create a simple closing mechanism.
Here are some more photos of the finished case:


Hope, you enjoyed my little tutorial. Have a lovely weekend!
Hugs
Monika xxx
Here is what I used:
ARTplorations Stencils:
Big Bloom Factory, Fearless


STAMPlorations Stamps:
Artsy Tribal Doodles, Mixed Media Elements


What a great idea - I am sure it is a lovely 'piece of art' on your tablt
ReplyDeletewhoops - I meant to say table
ReplyDeleteWith such a unique case, no chance of getting tablets mixed up! Gorgeous background.
ReplyDeleteOh wow! Awesome project!!!!
ReplyDeleteOMG my jaw just dropped with what you created here Monika. Fabulous job on showing us how you made this. I love the look of mixed media and just starting out in this field. Totally awesome work.
ReplyDelete