Hello! I'm back with my favourite technique for my favourite stencil,
Happy Flowers.
The design of this stencil lends itself so well to many techniques, but my favourite is using powdered inks, especially those with walnut stain. A few sprinkles, and a few spritzes, and you get a stunning print.
The amount of water you spritz determines the result - too much water and all the colours will merge, not enough colour and you get a speckly, dotty, result. I managed both at the same time :)
But the magic for me is what happens next: the spritzing spreads the excess powders onto the stencil and they mix the the water that's collected on top of the stencil. So you pick up the stencil, turn it over and press it onto another piece of watercolour paper.
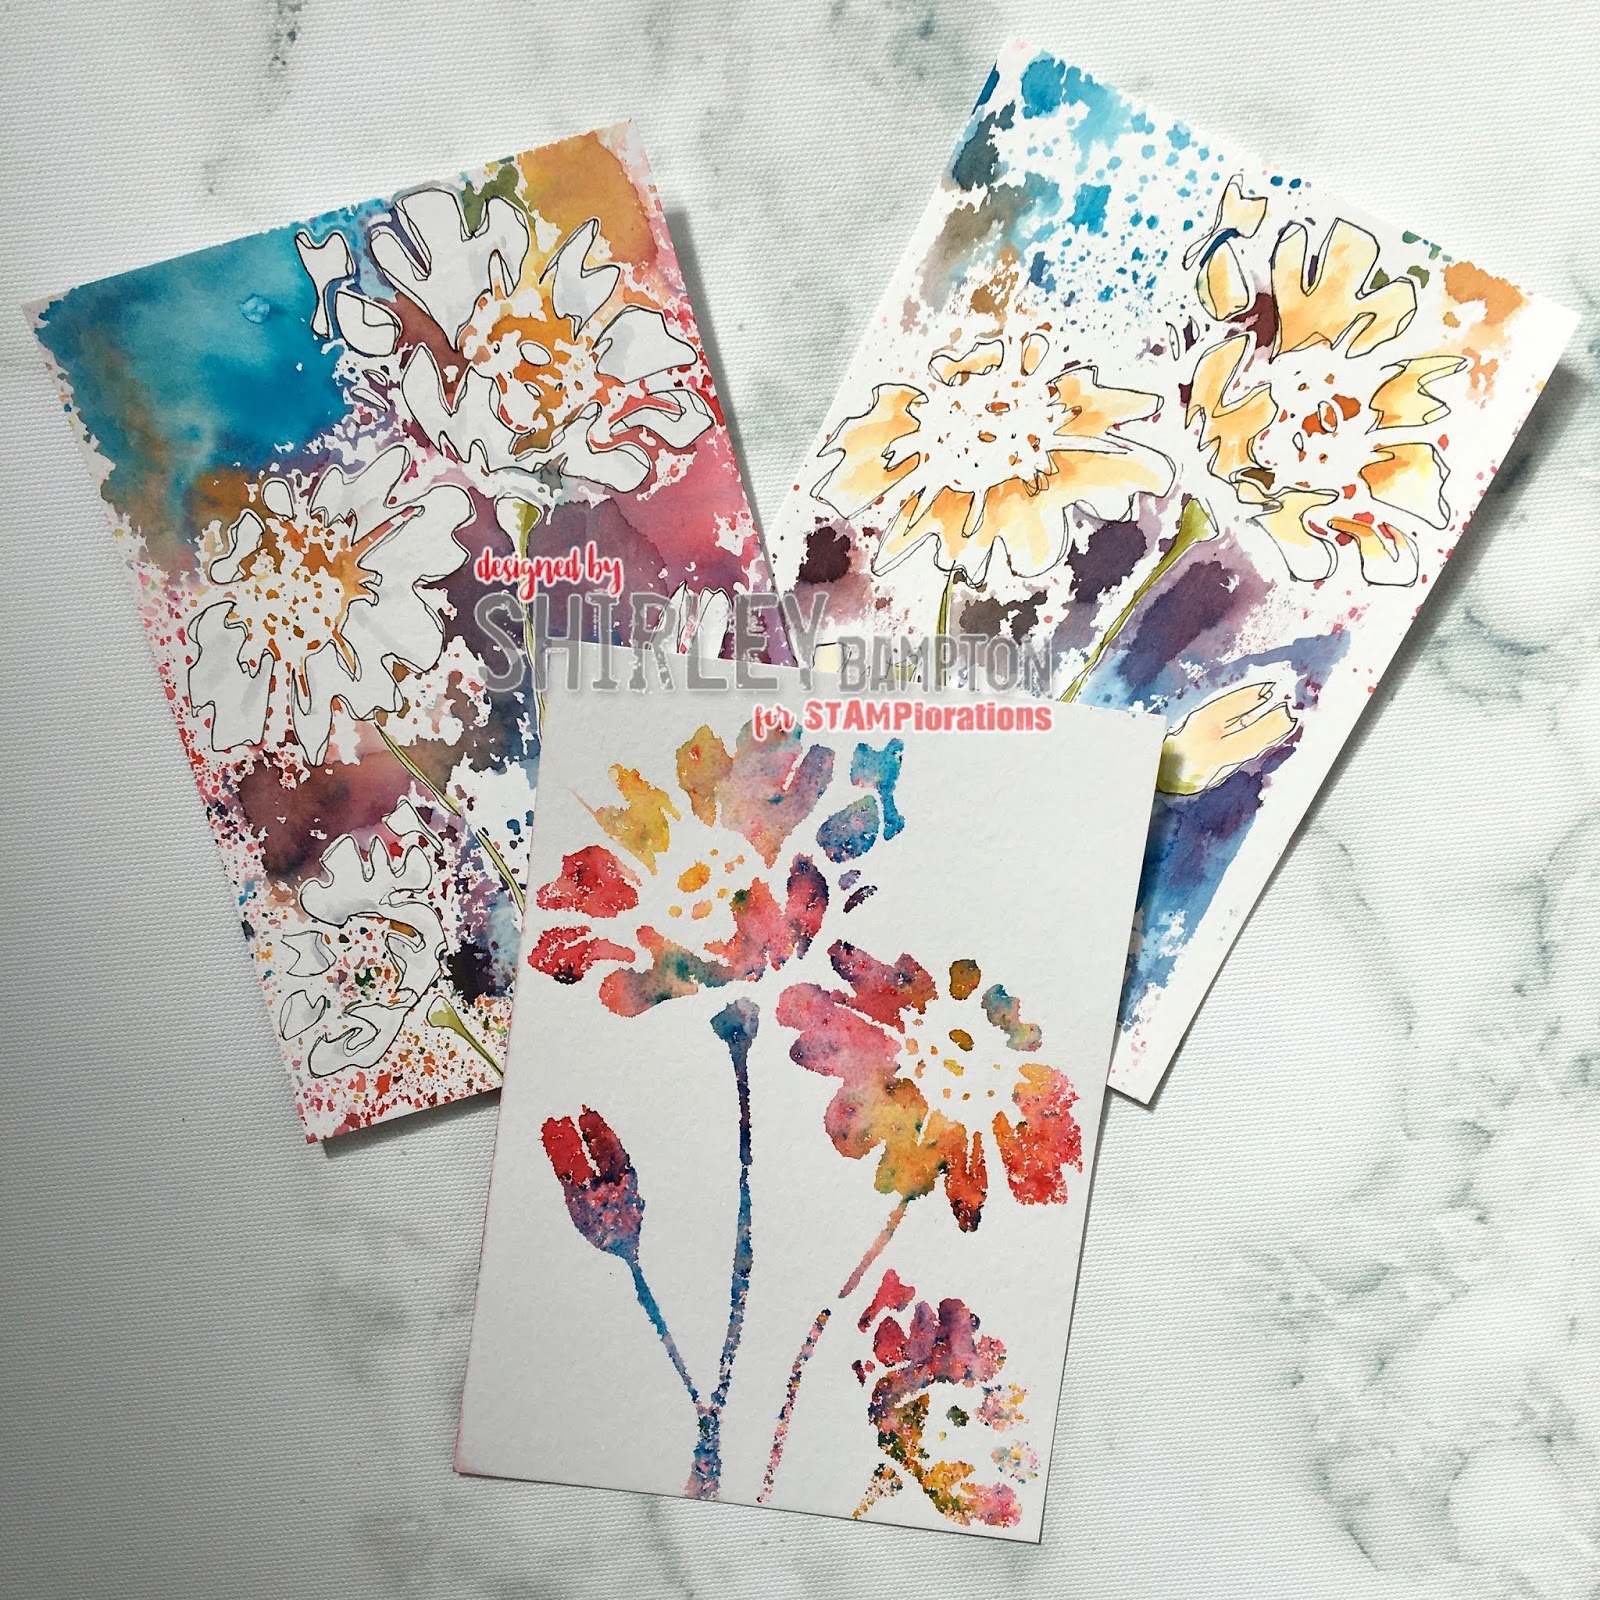
And you get a gorgeous reverse/negative image! I love how there's a random pop of magenta there.
Sometimes you can be lucky and get a very good second print, adding another spritz of water if necessary before pressing onto your next piece of watercolour paper.
Look how that magenta spread a bit more!
You can also see how the other background colours fade to a gentler shade.
Three prints for the price of one! My sort of crafting :)
I also made these three, but the jury's out. Can't decide if I like the colour combo, or the fact that I had to draw around the images to make them stand out. These powders didn't have walnut stain in them - maybe that's why I'm not as drawn to them.
This technique works really well with the
Happy Flowers stencil, and the
Perched Bird stencil, as you can see in my post yesterday, but it also works brilliantly with small repeat patterned stencils to give great backgrounds.
I hope this post inspires you to try different inking techniques with your stencils too!


Great idea Shirley, I must give this a try!
ReplyDeleteI really like this technique and have to give it a try...well done Shirley and thanks for sharing it with us.
ReplyDeleteThis is interesting and organically beautiful... but for me I always make mud. Really enjoyed these prints. One day...one day! :○)
ReplyDeleteWow - simply gorgeous!!
ReplyDeleteWouldn't have looked twice at this stencil until I saw the amazing work you did with it. It's going on my wish list...you have so inspired me. tfs-stay well.
ReplyDeleteOh, those look gorgeous!!!
ReplyDeleteThose flowers look so pretty! :)
ReplyDeleteVery pretty results. I haven't used powders before.
ReplyDeleteHmm - time I went and played with my stencils some more - thanks for the inspiration
ReplyDeleteStay safe
Blessings
Maxine
Wonderful backgrounds. I like the imprint of the first flip.
ReplyDeleteBeautiful! Great technique.
ReplyDeletethis inking is to die for! I gotta try this, such a beautiful result!!
ReplyDeleteAlicia
I love all of these! Gorgeous!
ReplyDeleteWhat an awesome technique! I love the outcome, need to try this!
ReplyDeleteWow, I love that second card with the first negative print. Awesome cards and technique. Hugz
ReplyDeleteso very nice cards!
ReplyDeleteThese are beautiful! I'll have to have another try with watercolour powders and stencils after seeing these!
ReplyDeleteThank you for the tutorial. Your cards are beautiful.
ReplyDelete