

Hello STAMPlorations Friends! Ever since the Watercolor ATC Journaling Cards popped through my letterbox, I've been meaning to turn them into a little book. I finally got round to making one, here it is:

Let me take you through the steps of how it came about.
First I decided which of the cards I wanted to use and cut the ones for the outside and inside of the covers to ATC size. There are two ATCs on a single sheet, I simply needed to separate them and discard the narrow white strip from the centre. The ones for my 5 pages were scored down the centre of the white strip and folded in half.

To bind my pages together I cut a piece of white card 8.9cm by 16cm (3 1/2 by 8 inches) and scored at the following intervals:
- in cm: 1.5 - 0.5 - 1 - 1 - 0.5 - 1 - 1 - 0.5 - 1 - 1 - 0.5 - 1 - 1 - 0.5 - 1 - 1 - 0.5 which left 1.5cm at the end
- in inches: 3/4 - 1/4 - 1/2 - 1/2 - 1/4 - 1/2 - 1/2 - 1/4 - 1/2 - 1/2 - 1/4 - 1/2 - 1/2 - 1/4 - 1/2 - 1/2 - 1/4 with 3/4 of an inch left at the end.

... glued the mountain folds as shown to form the tabs to which my pages would be attached.


I then cut a piece of 8.9cm by 16.8 cm from coloured card, attached the front and back cover ATCs and scored the centre 3cm (1 1/2 inches) as shown. These would be the folding lines for the cover and would help with the alignment when attaching the pages.

I turned the cover over and attached the pages to the inside using my score lines as a guide for centring. The pages were only attached using the 1.5cm (3/4 inch) tab either side as I intended to feed some ribbon through to decorate the spine of my book.

After the inside covers were attached I used acrylic blocks to weigh them down while they were drying overnight. Sometimes when using glue as I do, card can slightly buckle during the drying process. Weighing it down helps it stay flat. The ATCs are made from strong card and probably would have been fine, I just wasn't sure about the coloured card.

In the meantime I made some tags to go into my pockets. Originally I had left the pockets open at the bottom thinking that the ribbon would be sufficient to hold them in place once inside. However I later changed my mind and closed the pockets off at the bottom. Of course, this would be much more easily done when attaching the pages to the tabs.

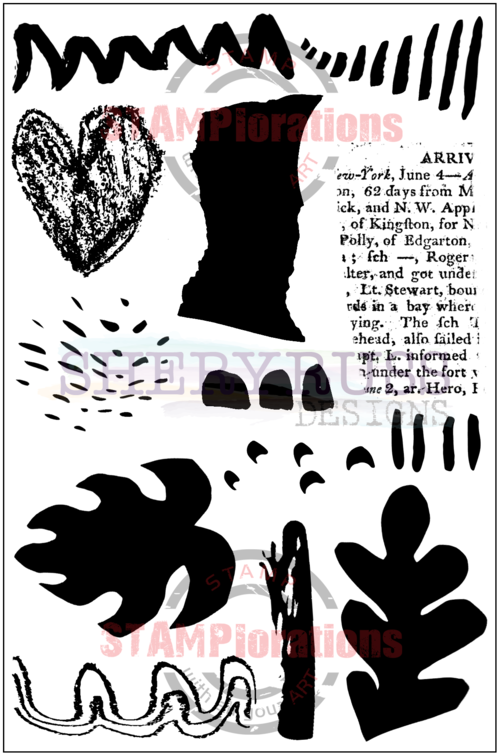
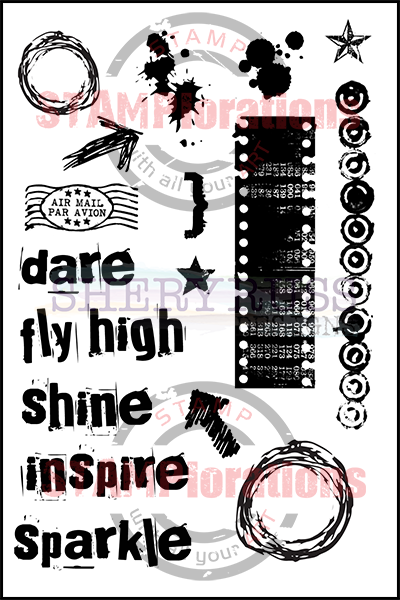
To create my cover I gathered the Art Marks, Art Marks 3 and Fierce & Brave stamp sets. I laid out one of the faces and sentiment from the Fierce & Brave set and attached the to an acrylic block. I used this as a guide to help with the placement of the leaf and words before stamping them with Prism inks.

I ended up adding some stamped circles, stars and die-cut hearts before finishing off with gems, sequins, ribbon and a doodled border.

Here are some photos of the finished book.


***************


That's it from me for today. Wishing you a lovely week.
hugs
Monika ❤
Hey Monika, great tutorial, nice and clear instructions. TFS
ReplyDeleteVery pretty project! I love making ATCs, so this might be something fun to try!
ReplyDeleteGORGEOUS backgrounds~!
ReplyDeleteSuper cool and beautiful mini book! I love the tags and it would be fantastic as a journal.
ReplyDeleteThis is such a fun project
ReplyDeleteReally fun....I like all of the colors.
ReplyDeleteWhat a clever way to showcase your ATCs! I love that little book.
ReplyDeleteThanks for the tutorial on making this mini book. Your ATCs are so pretty.
ReplyDeleteFabulous look to this
ReplyDeletejournal. Love the cover
and fun way to make it.
Carla from Utah
Great design. I like how you added tags.
ReplyDeleteWow - this is an awesome way to use the smaller size of "canvas"!! Love it!
ReplyDeleteThis is such a fun and creative way to use the ATC cards! Great inspiration!
ReplyDeleteSo creative and great pops of color!
ReplyDeleteAwesome. What a fun little album. Hugz
ReplyDeleteThis is so beautiful, I absolutely love the fierce and brave stamp set!
ReplyDeleteGreat look at how the book was created. Nice project to try.
ReplyDeleteawesome work - thanks for the ideas
ReplyDelete